

How-to: Adding Auth to Grafana with Auth0
At Cyral, we’re focused on building a product to monitor and secure data endpoints. As we’ve done this, one of our guiding design philosophies has been to always make sure we are building a product that fits into our customers existing workflows. We want to work with the tools and infrastructure they already like to use.
To that end we’ve integrated with a number of the best products out there for logging, alerting, metrics, and SSO.
Today we wanted to share a bit more about one of our favorite integrations that we thought might be helpful for others working to bring metrics into their SSO ecosystem: Auth0 and Grafana. Auth0 allows our customers to use one single credential across the entire Cyral ecosystem. By integrating Auth0 and Grafana, we were able to give our customers access to the metrics platform they often already knew and loved with the same credentials they used to access their Cyral management console—be that their Gmail, Okta credentials, or custom Cyral username and password.
Grafana has great general documentation for a number of different auth connections, however, after undertaking this ourselves, we thought it might be helpful to share our documentation that goes one step further to provide a working docker-compose file that will get you up and running in a matter of minutes.
Grafana provides a myriad of ways for you to add authentication and authorization to protect your Grafana metrics and dashboards. For many though, disabling authentication entirely is often one of the first configuration settings to be changed. In this post, we want to show how simple it is to add a well trusted authentication and authorization mechanism across multiple apps. By enabling Auth0 in Grafana and in any other applications you are building, you can now offer a completely managed option for seamless and secure authentication and authorization.
Prerequisite Steps
For our purposes, we’re going to be testing locally using docker compose. If you already have Docker Desktop, you’re all set, if not, follow these instructions to install docker compose.
You’ll also need a free Auth0 account. Sign up for Auth0 using Github, Google, Microsoft or an email and unique password. If you already have an account, you can instead click on Create tenant in the upper right corner drop down menu. It will ask you to fill out the following 2 fields:

Save the $Auth0 tenant domain, as we’ll need that later. Choosing a region is helpful for compliance with privacy laws such as GDPR and CCPA.
Setting up an Auth0 Application
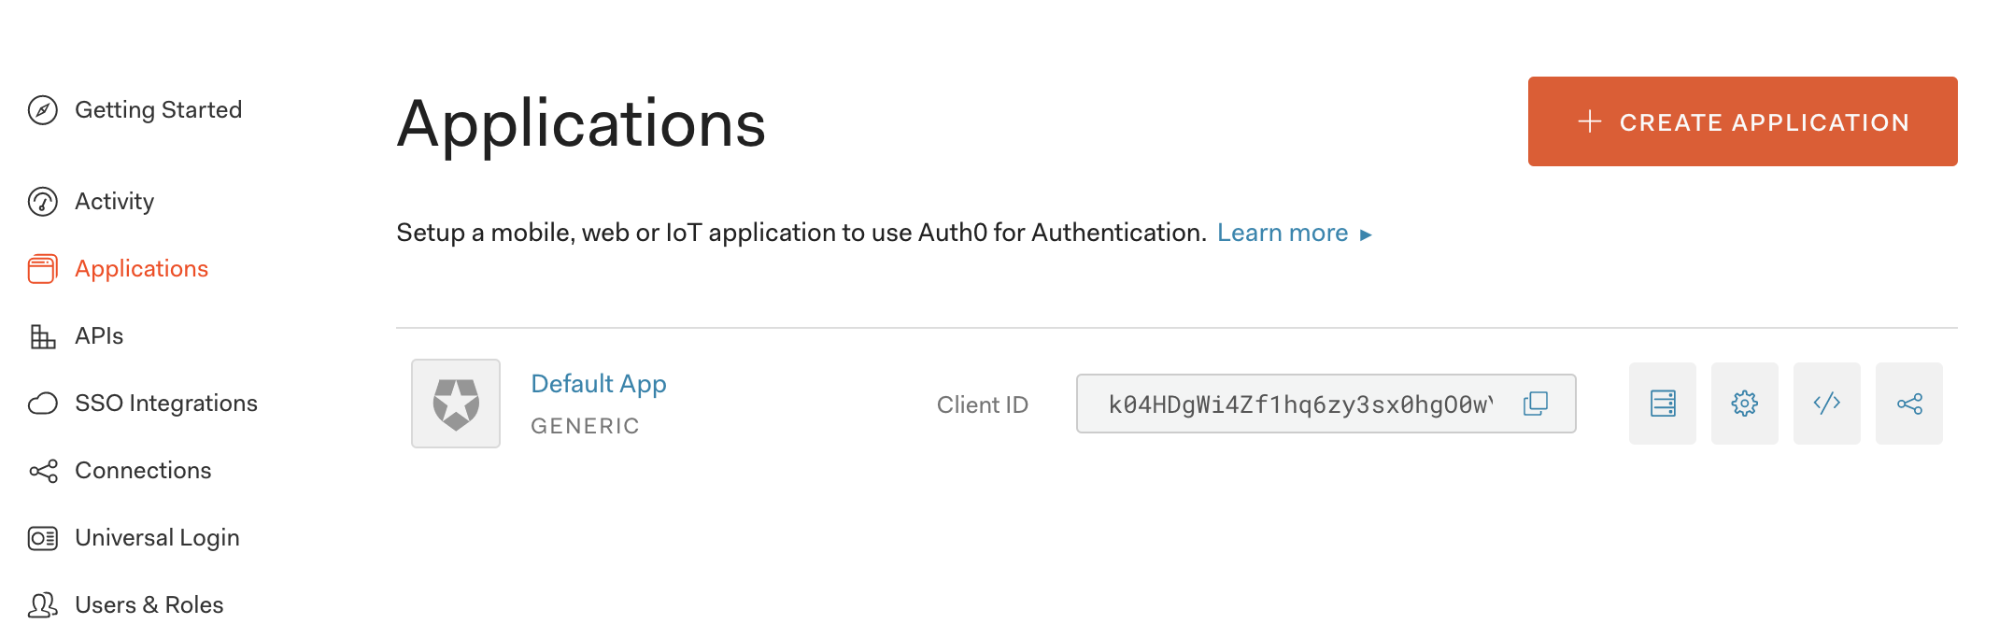
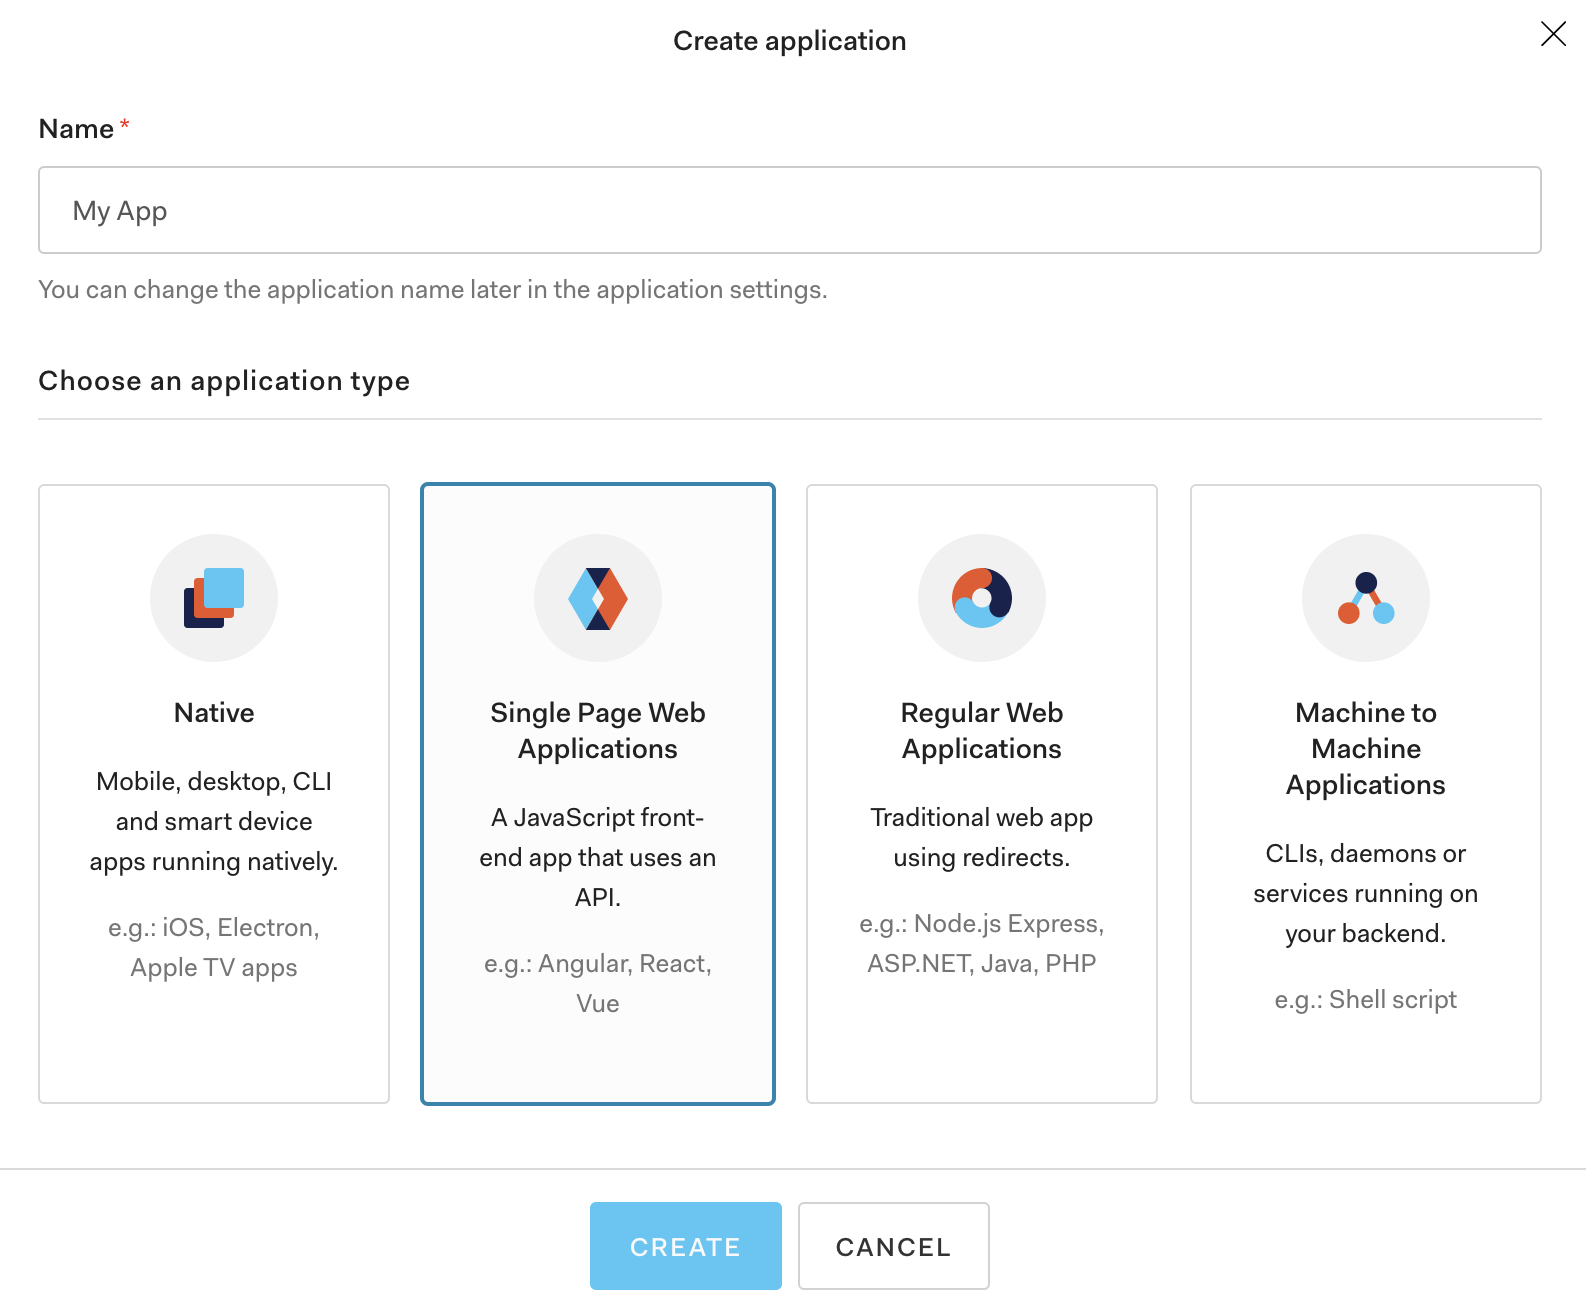
- Create a new application by clicking on “Application” in the left hand navigation bar. From there, click on “Create Application”. In the Grafana documentation they advise that you create a “Regular Web” Auth0 application. In our test, we decided to see if a “Single Page Web Application” would work as well. It did for Grafana, so feel free to use either.
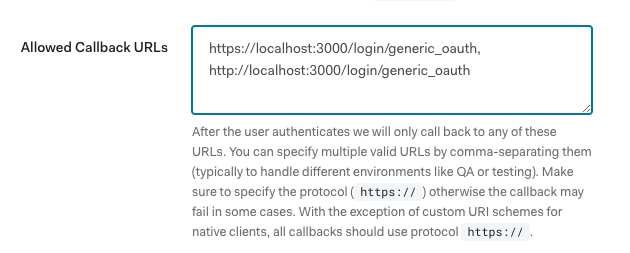
- Add
https://$Grafana-domain/login/generic_oauth, http://$Grafana-domain/login/generic_oauthto the set of allowed callback urls in your application settings. Only include http if you’re testing locally. In our example, we’re usinghttp://localhost:3000/login/generic_oauth, https://localhost:3000/login/generic_oauth. Note that you’ll need to click Save at the bottom for the change to take effect.
- Collect the following information from your Auth0 application that you’ll use to configure Grafana below. You can find these values under the Settings tab of the Auth0 application you just created.
- Client ID
- Client Secret
- Domain

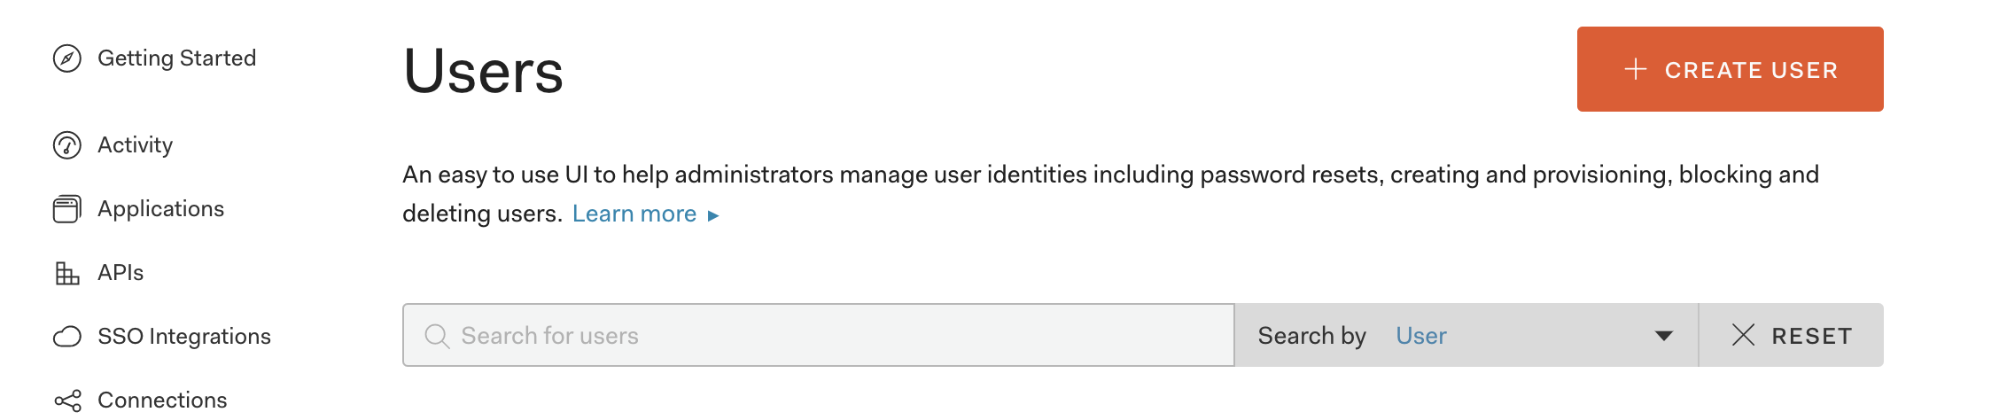
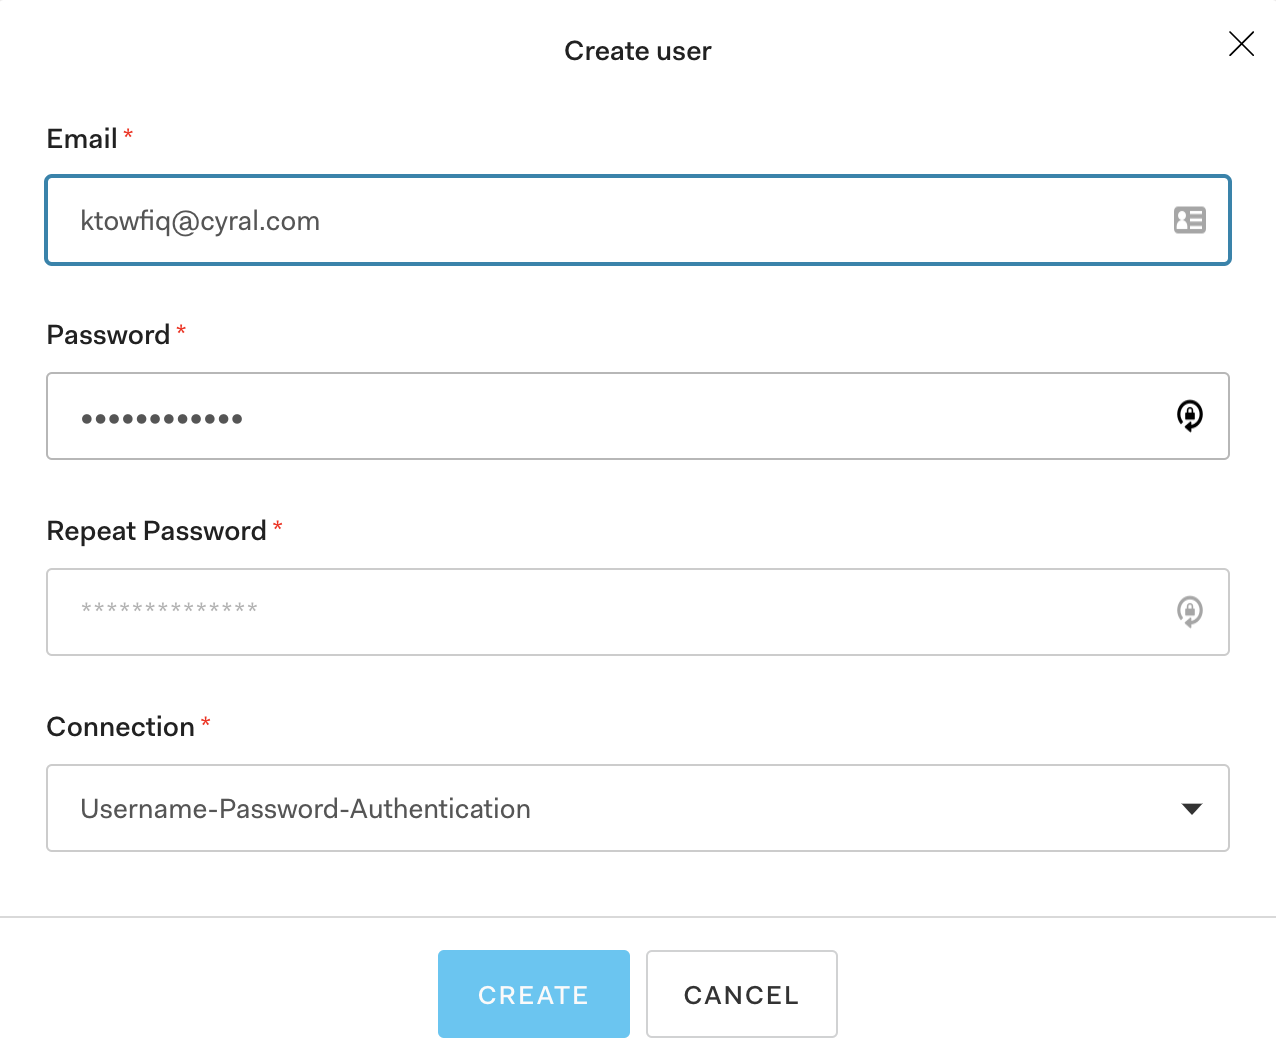
- If you don’t have a user on your Auth0 tenant, create one by clicking on “Users & Roles” and then “Users” on the left hand side. These are the credentials we’ll use to login to Grafana.
Configuring Grafana Generic OAuth with Auth0 Values
In our test instance, we’ll be using the docker image for Grafana v6.7.0. The Grafana docker container’s Generic OAuth settings can be configured through the following environment variables:
GF_SERVER_DOMAIN: The domain you’ll use for hosting your Grafana instance. For testing locally, uselocalhostGF_SERVER_HTTP_PORT: The port you’ll be using for Grafana. For example,3000GF_SERVER_PROTOCOL: The value of this environment variable should behttps. Only usehttpif you’re going to try this out locally.GF_SERVER_ROOT_URL: Set this to the following string:%(protocol)s://%(domain)s:%(http_port)s/- It will construct the Server Root URL using the preceding 3 environment variables
GF_AUTH_GENERIC_OAUTH_ALLOW_SIGN_UP: Set this totrueto enable sign in with Auth0.GF_AUTH_GENERIC_OAUTH_ENABLED: Set this totrueto enable sign in with Auth0.GF_AUTH_GENERIC_OAUTH_NAME: A logical value for this isAuth0. You can give this any name you want. This is the name that will be displayed on the login page for the OAuth log in option.GF_AUTH_GENERIC_OAUTH_SCOPES: These are the required scopes:openid profile emailGF_AUTH_GENERIC_OAUTH_TOKEN_URL: Set this tohttps://$Auth0-domain/oauth/token. For example,https://grafana-test.auth0.com/oauth/tokenGF_AUTH_GENERIC_OAUTH_AUTH_URL: Set this tohttps://$Auth0-domain/authorize. For example,https://grafana-test.auth0.com/authorizeGF_AUTH_GENERIC_OAUTH_API_URL: Set this tohttps://$Auth0-domain/userinfo. For example,https://grafana-test.auth0.com/userinfoGF_AUTH_GENERIC_OAUTH_CLIENT_ID: Set this to the Client ID that was generated in Step 3 above.GF_AUTH_GENERIC_OAUTH_CLIENT_SECRET: Set this to the Client Secret that was generated in Step 3 above.
Your deployment method will determine the specifics of how you set these environment variables in the docker container. We will use docker-compose to demonstrate running this locally.
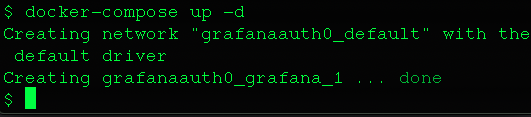
- Set up your docker-compose to test locally replacing $Auth0-domain, $Auth0-Client-ID and $Auth0-Client-Secret with the values from Auth0 in Step 3 above. You can download this docker-compose here.
version: "3"services: grafana: image: grafana/grafana:6.7.0 ports: - 3000:3000 environment: - GF_SERVER_DOMAIN=localhost - GF_SERVER_HTTP_PORT=3000 - GF_SERVER_PROTOCOL=http - GF_SERVER_ROOT_URL=%(protocol)s://%(domain)s:%(http_port)s/ - GF_AUTH_GENERIC_OAUTH_ALLOW_SIGN_UP=true - GF_AUTH_GENERIC_OAUTH_ENABLED=true - GF_AUTH_GENERIC_OAUTH_NAME=Auth0 - GF_AUTH_GENERIC_OAUTH_SCOPES=openid profile email - GF_AUTH_GENERIC_OAUTH_TOKEN_URL=https://$Auth0-domain.auth0.com/oauth/token - GF_AUTH_GENERIC_OAUTH_AUTH_URL=https://$Auth0-domain.auth0.com/authorize - GF_AUTH_GENERIC_OAUTH_API_URL=https://$Auth0-domain.auth0.com/userinfo - GF_AUTH_GENERIC_OAUTH_CLIENT_ID=$Auth0-Client-ID - GF_AUTH_GENERIC_OAUTH_CLIENT_SECRET=$Auth0-Client-Secretdocker-compose up -d
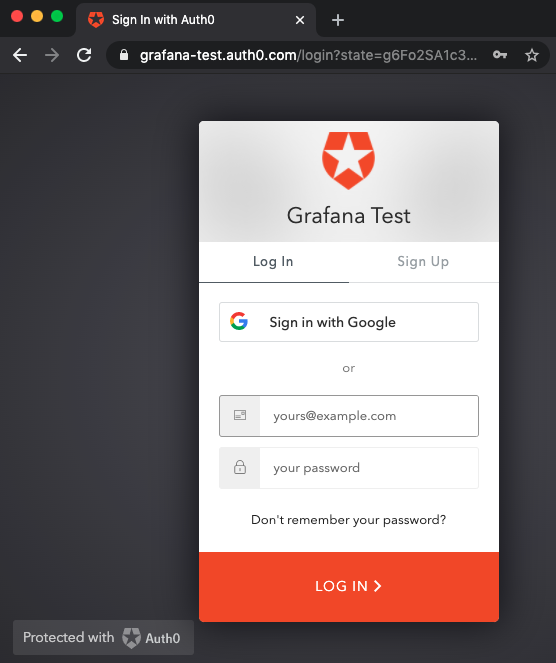
- Open a browser and navigate to http://localhost:3000

- Click Sign in with Auth0. This will redirect you to your Auth0 login portal where you can securely log in.
- After logging in click to authorize the app.

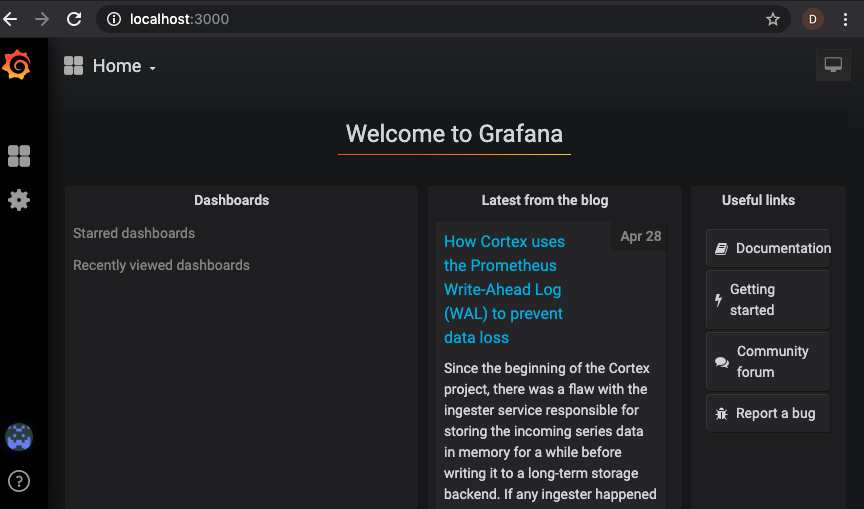
- After authorizing the app, you can now log in with the credentials you created above and start using Grafana!
The post How-to: Adding Auth to Grafana with Auth0 appeared first on Cyral.
*** This is a Security Bloggers Network syndicated blog from Blog – Cyral authored by Kaizen Towfiq. Read the original post at: https://cyral.com/blog/how-to-grafana-auth0/
