

Provisioning a headless Raspberry Pi
The typical way of installing a fresh Raspberry Pi is to attach power, keyboard, mouse, and an HDMI monitor. This is a pain, especially for the diminutive RPi Zero. This blogpost describes a number of options for doing headless setup. There are several options for this, including Ethernet, Ethernet gadget, WiFi, and serial connection. These examples use a Macbook as an example, maybe I’ll get around to a blogpost describing this from Windows.
Burning micro SD card
We are going to edit the SD card before booting, so for completeness, I thought I’d describe the process of burning an SD card.
We are going to download the latest “raspbian” operating system. I download the “lite” version because I’m not using the desktop features. It comes as a compressed .zip file which we need to extract into an .img file. Just double-click on the .zip on Windows or Mac.
The next step is to burn the image to an SD card. On Windows I use Win32DiskImager. On Mac I use the following command-line steps:
$ sudo -s
# mount
# diskutil unmount /dev/disk2s1
# dd bs=1m if=~/Downloads/2018-06-27-raspbian-stretch-lite.img of=/dev/disk2 conv=sync
First, I need a root prompt. I then use the mount command to find out where the micro SD card is mounted in the file system. It’s usually /dev/disk2s1, but could be disk3 or disk4 depending upon other things that may already be mounted on my Mac, such as USB drives or dmg files. It’s important to know the correct drive because the dd utility is unforgiving of mistakes and can wipe out your entire drive. For gosh’s sake, don’t use disk1!!!! Remember dd stands for danger-danger (well, many claim it stands for disk-dump, but seriously, it’s dangerous).
The next step is to unmount the drive. Instead of the Unix umount utility use the diskutil unmount macOS tool.
Now we use good ol’ dd to copy the image over. The above example is my recently download raspbian image that’s two months old. When you do this, it’ll be a newer version with a different file name, so look in your ~/Downloads folder for the correct name.
This takes a while to write to the SD card. You can type [ctrl-T] to see progress if you want.
When we are done writing, don’t eject the card. We are going to edit the contents as described below before we stick it into our Raspberry Pi. After running dd, it’s going to become automatically mounted on your Mac, on mine it comes up as /Volumes/boot. When I say “root directory of the SD card” in the instructions below, I mean that directory.
Troubleshooting: If you get the “Resource busy” error when running dd, it means you didn’t unmount the drive. Go back and run diskutil unmount /dev/disk2s1 (or equivalent for whatever mount tell you which drive the SD card is using).
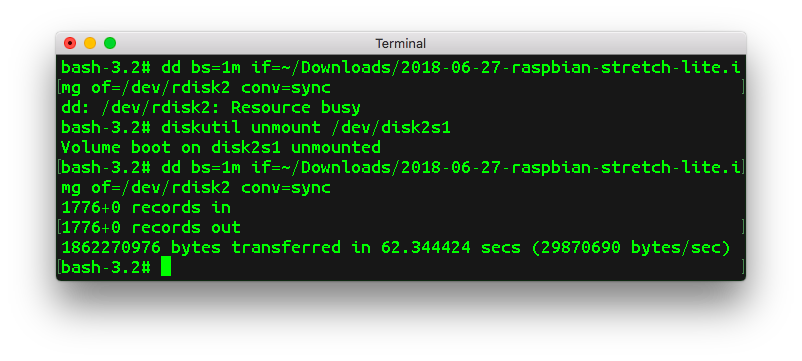
You can use the “raw” disk instead of normal disk, such as /dev/rdisk2. I don’t know what the tradeoffs are.
Ethernet
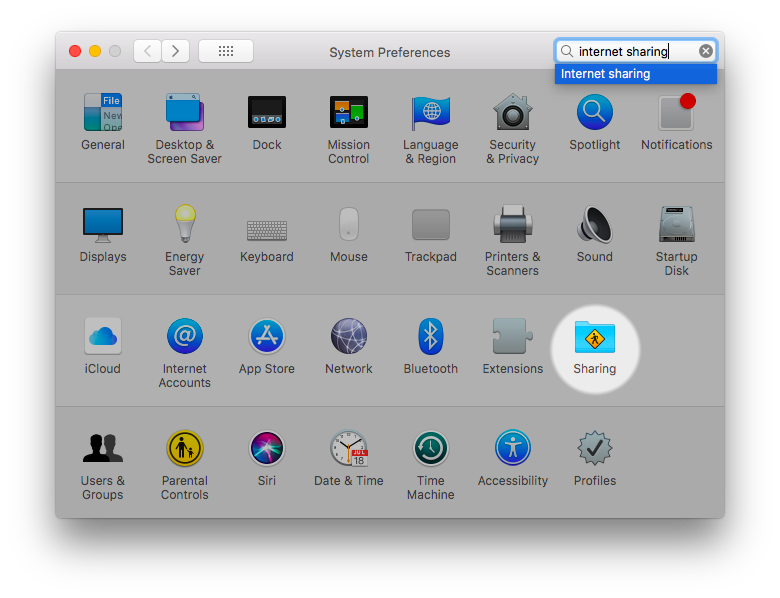 |
| System preferences -> Sharing |
 |
| Allowing Ethernet devices to share WiFi connection to Internet |
RPi Zero OTG Ether Gadget

 |
| RPi0 should now appear as RNDIS device |
 |
| Use NAT/DHCP to allow RPi0 to share my laptop’s WiFi |

WiFi
For the devices supporting WiFi, instead of using Ethernet we can use WiFi.
To start with, we again create the ssh file to tell it to start the service:
$ touch /Volumes/boot/ssh
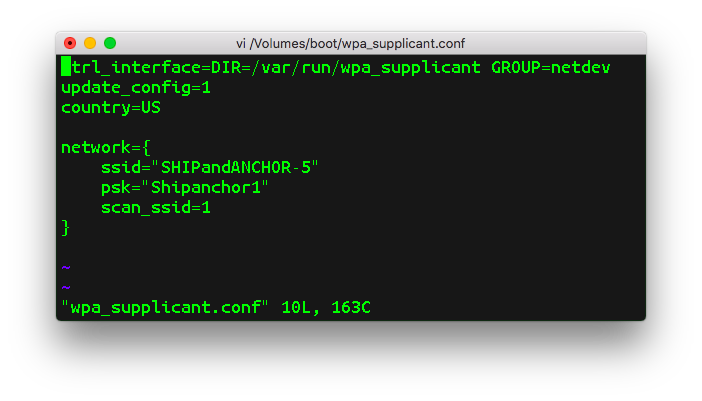
Now we to create a file in the SD root directory called “wpa_supplicant.conf” with contents that look like the following:
ctrl_interface=DIR=/var/run/wpa_supplicant GROUP=netdev
update_config=1
country=US
network={
ssid=”YOURSSID”
psk=”YOURPASSWORD”
scan_ssid=1
}
You need to change the SSID and password to conform to your WiFi network, as I do in the screenshot below (this is actually the local bar’s network):
Safely eject the card, insert into RPi, and power it up. In the following screenshot, I’m using a battery to power the RPi, to show there is no other connection (Ethernet, USB, etc.).
I then log in from my laptop that is on the same WiFi. Again, you can use either raspberrypi.local (on a laptop using Apple’s Bonjour service), or use the raw IP address, as in the following example:
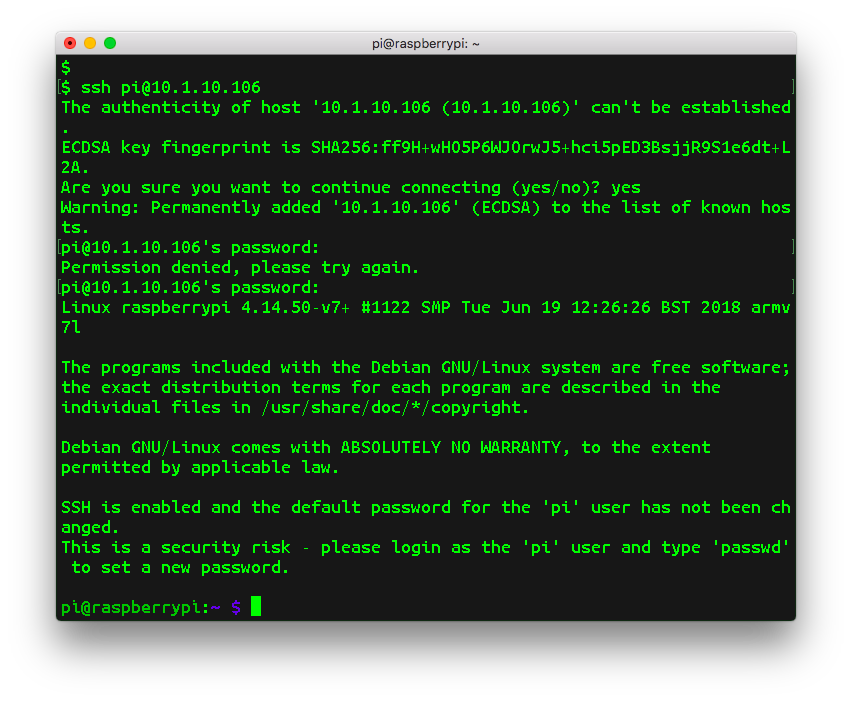
This one time it didn’t work. It had everything configured right, but for some reason it didn’t find the WiFi network. Restarting the device fixed the problem. I’m not sure what this happened.
Enabling serial cable
The old-school way t.
The first step is to go to Adafruit and buy a serial cable for $10, this device for $7, or for $6 from Amazon, and install the drivers as documented here. The cable I got requires the “SiLabs CP210X” drivers.
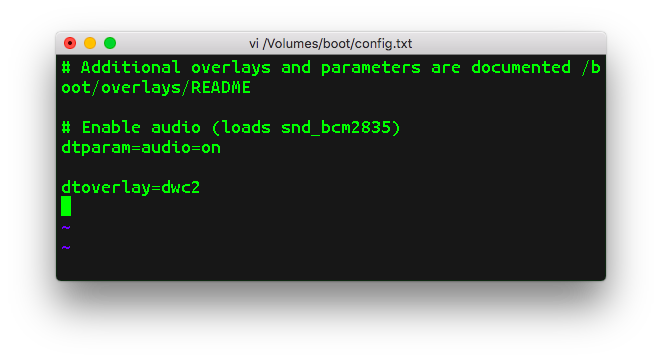
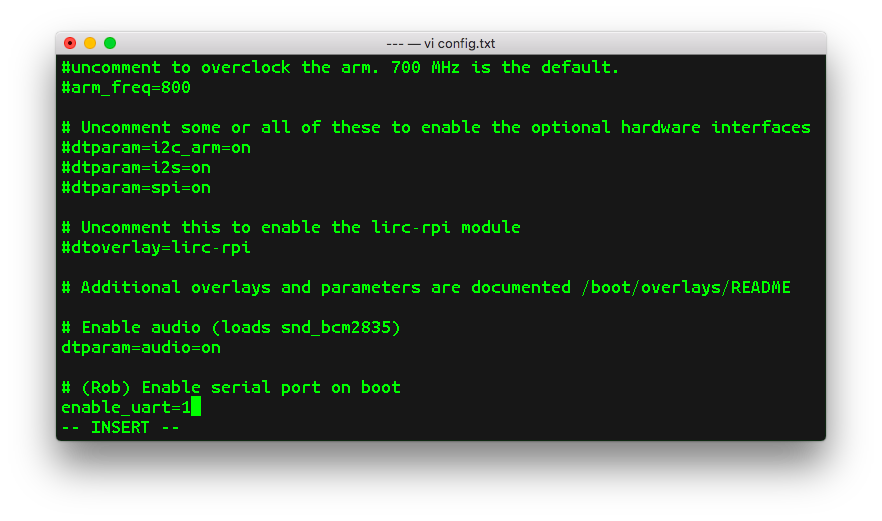
The next step is to edit config.txt on the SD card and add the line at the end “enable_uart=1″.
Now we are ready to cleanly eject the SD card and stick in the Raspberry Pi.
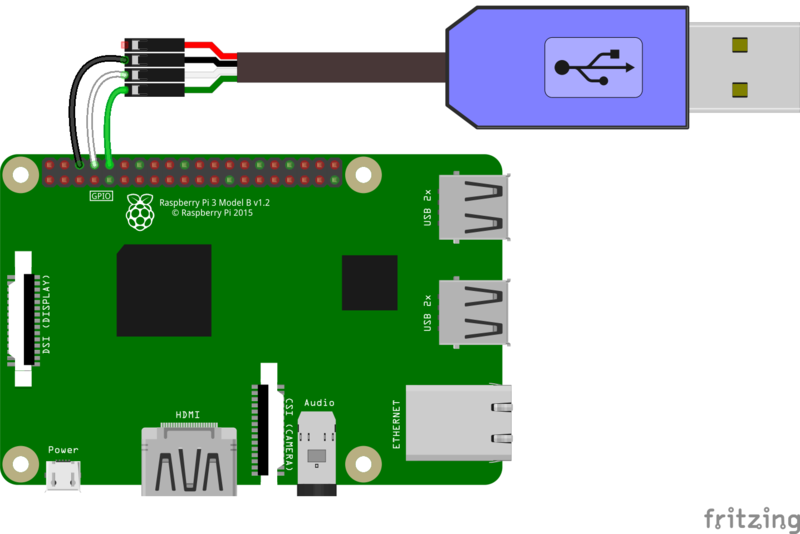
First, let’s hook the serial cable to the Raspberry Pi. NOTE: don’t plug in the USB end into the computer yet!!! The guide at Adafruit shows which colored wires to connect to which GPIO pins.
 |
| From Adafruit |
Basically, the order is (red) [blank] [black] [white] [green] from the outer edge. It’s the same configuration for Pi Zeroes, but you may get yours without pins. You either have to solder on some jumper wires [*] or use alligator clips.
You have two options on how to power the board. You can either connect the red wire to the first pin (as I do in the picture below) or you can connect power as normal, such as to a second USB port on your laptop. I chose to try the serial cable to power my Raspberry Pi 3 Model B+ from the serial port. I got occasional messages complaining about “undervoltage”, but everything worked without corrupting the SD card (SD card corruption it often what happens with power problems).

Once you’ve got the serial cable attached to the Pi, then plug it into the USB port on the laptop. This should start booting up.
On Windows you can use Putty, and on Linux you can use /dev/ttyUSB0, but on the Macbook we are going to use an outgoing serial device. The first thing is to find the device, such as doing “ls /dev/cu.*” to see which devices are available. On my Macbook, I get “/dev/cu.SLAB_USBtoUART” as the one to use, plus some other possibilities (from Bluetooth and my iPhone) that I’m not interested in:
/dev/cu.Bluetooth-Incoming-Port
/dev/cu.SLAB_USBtoUART
/dev/cu.iPhone-WirelessiAPv2
The command to run to connect to the Pi is:
$ sudo screen /dev/cu.SLAB_USBtoUART 115200
You’ll have to hit the return key a couple times for it to know you’ve connected, at which point it’ll give you a command prompt.
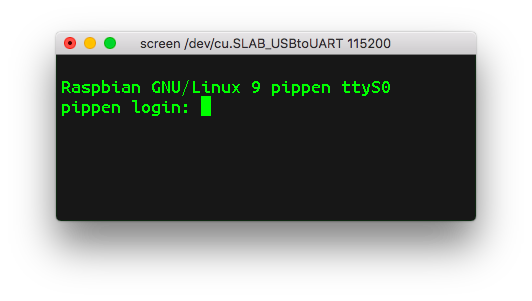
(I’ve renamed the system from ‘raspberrypi’ in the screenshot to ‘pippen’).
Note that with some jumper wires you can simply connect the UART from one Raspberry Pi to another.
Conclusion
- Raspberry Pi 3 Model B/B+ – Ethernet
- Raspberry Pi 3 Model B/B+ – WiFi
- Raspberry Pi 3 Model B/B+ – Serial
- Raspberry Pi Zero/Zero W – USB Ethernet dongle
- Raspberry Pi Zero/Zero W – OTG Ethernet gadget
- Raspberry Pi Zero/Zero W – Serial
- Raspberry Pi Zero W – WiFi
*** This is a Security Bloggers Network syndicated blog from Errata Security authored by Robert Graham. Read the original post at: https://blog.erratasec.com/2018/08/provisioning-headless-raspberry-pi.html
