

16 Must-Dos Before You Launch Your Website

- September 29, 2022
- Chloe Brittain
There’s a lot that goes into building a new website, and it’s normal to get that nagging feeling that you’re forgetting something critical just as you’re getting ready to launch.
In this website launch checklist, we’ll look at some of the most important considerations for creating a commercial website in terms of security, functionality, compliance, accessibility, SEO, and promotion. Since WordPress is by far the most popular platform for business sites today, we’ve included some extra tips just for WordPress users.
Here’s the short version of the checklist:
- Get a domain name and web host
- Choose and install a CMS
- Install an SSL/TLS certificate
- Configure WordPress settings
- Install necessary plugins
- Choose a theme
- Create and optimize your content
- Devise a backup strategy
- Create social media profiles
- Make sure the site reflects your brand
- Optimize the user experience (UX)
- Check that your site is compliant
- Test contact forms and conversion paths
- Set up Google Analytics and Search Console
- Check for technical SEO issues
- Promote your site
1. Get a domain name and web host
Although many web hosts also offer domain registration services, it’s best practice not to use the same company for both registration and hosting. You can connect your domain to your web host by updating the nameserver records on your registrar’s website.
Before you commit to a domain name, do a WHOIS lookup to get some information about its history. If someone else previously owned the domain, use a tool like MxToolbox to check that it hasn’t been blacklisted due to spam.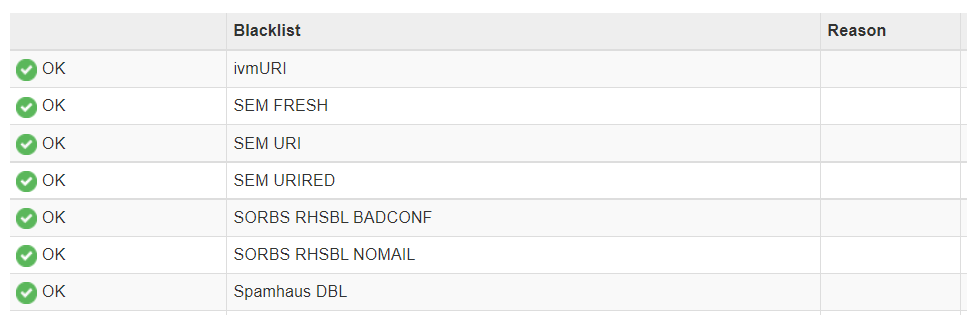
2. Choose and install a CMS
A CMS, or content management system, is a software platform used for creating and managing content (e.g., webpages, blog posts, multimedia) without the use of code. Some of the top CMS platforms include WordPress, Drupal, and Joomla. There are also website builder platforms such as Wix and Squarespace.
Unless you have a very good reason for choosing a different CMS or website builder, it’s worthwhile to build your site using WordPress, which is the most widely used CMS in the world by organizations of all sizes. It should be noted to use WordPress.org and not the free blogging platform at WordPress.com.
Most web hosts include an option to install WordPress from your cPanel. You can also install the software manually using WordPress’ famous five-minute install process.
3. Install an SSL/TLS certificate
Before launch, purchase and set up an SSL/TLS certificate. There are several important benefits of SSL/TLS certificates:
- Enhanced security. SSL/TLS encrypts your website, securing it against hackers who may attempt to intercept sensitive data – for instance, payment information or other personal details entered into a form on your site.
- Increased user trust. Until you configure SSL/TLS, your site visitors will see a “Not secure” warning in their browser. This may result in decreased conversions. An SSL/TLS certificate will give your visitors peace of mind when they conduct transactions on your site (this is especially critical for e-commerce sites).

- SEO advantages. HTTPS is one of Google’s 200 known ranking factors, so installing an SSL/TLS certificate can give your site a slight edge in organic search.
What is an SSL Certificate?
SSL vs TLS – What’s the Difference?
What Are The Different Types of SSL Certificates?
A Step-by-Step Guide to Choosing an SSL Certificate
4. Configure WordPress settings
Right after you install WordPress (if applicable), take some time to explore the settings and make any necessary adjustments. For example, you can create navigation menus, add post categories, and choose whether to display comments on posts.
Before you launch your website, make sure to address the following important settings:
Under Settings > General:
- Fill in the Site Title and Tagline. This setting determines the title that appears in browser tabs as well as in the search results for your site’s homepage.
- Under WordPress Address (URL) and Site Address (URL), enter your preferred domain (https or http, www or non-www).
Under Settings > Reading:
- Choose whether you want your homepage to display a static webpage or a dynamic feed of your latest posts.
- Make sure the box next to “Discourage search engines from indexing this site” is left unchecked.
Under Settings > Permalinks:
- Choose your preferred permalink structure. Changing this setting later can break all your pages and have disastrous consequences for your SEO unless handled correctly, so choose wisely.
Under Users:
- This is where you can add new users and edit user passwords and roles – for example, Subscriber, Contributor, Author, Editor, and Administrator.
5. Install necessary plugins
If your website is built using WordPress, you can add almost any kind of functionality you need by installing and activating a WordPress plugin. Free plugins can be found in the official WordPress plugin directory. 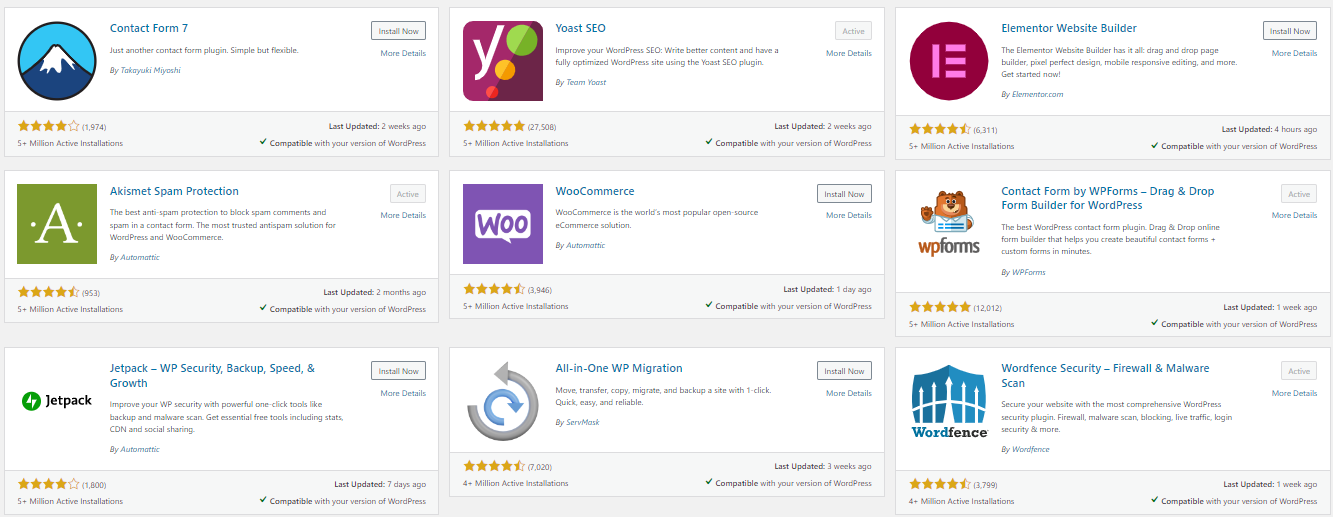
The first plugin you should add to your site is a security plugin, such as Wordfence Security. Other types of plugins to consider include:
- Anti-spam
- Caching
- Website backup
- Maintenance mode page
- Contact form
- Google Analytics
- SEO
- Social sharing buttons
If you’re launching an e-commerce business on WordPress, you can use a plugin like WooCommerce to create and manage your online store.
6. Choose a theme
If your site is powered by WordPress, one of the first things you’ll want to do is choose a theme, which is a collection of files that determines the layout – and, to a degree, the functionality – of your site.
You can find free themes in the official WordPress theme directory. Premium business themes for WordPress are also available for purchase from third-party developers.

A few things to consider when choosing a theme are:
- Functionality (e.g., blog, e-commerce, portfolio)
- Mobile responsiveness
- Loading speed
- User friendliness
- Level of developer maintenance and support
7. Create and optimize your content
If you’re building a website from scratch, take some time to map out your content strategy, including:
- Core pages. At minimum, your website should include Home, About, Contact, and Privacy Policy pages
- Landing pages. These critical pages will target your main products and services and should be optimized for conversions
- Blog posts. Decide what posts, if any, should be ready before you launch
- Opt-in freebies and email newsletter. If your site will have an email newsletter, consider what types of lead magnets you can create to offer new email subscribers – for instance, free white papers or webinars. You may also wish to prepare an email sequence in advance of launch
When creating content for your site, consider the following:
- Keyword research: Are you targeting keywords that aren’t overly competitive? Is the broader theme of your website aligned with your marketing goals?
- On-page SEO: Is your content, including HTML header tags (H1, H2, etc.) and image alt text, optimized with your target keywords?
- Internal linking: Do your pages and posts include contextual links to related pages on your site?
- URLs: Are your page URLs optimized for search? Do they consistently reflect site hierarchy?
- Meta data: Do your pages and posts include title tags and meta descriptions?
8. Create a backup strategy
Before launch, back up your site files. Then create an ongoing backup schedule based on how often you intend to make changes to your content.
You can take backups manually using FTP or cPanel, or use a managed backup service that handles everything for you.
If you’re on WordPress, there are plugins available that will back up your site at set intervals and save it to your Google Drive or Dropbox account. Many web hosts also provide an automatic backup service.
9. Create social media profiles
Create business profiles on all the top social media platforms, including LinkedIn, Twitter, Facebook, Instagram, YouTube, and Pinterest. Even if you don’t plan to use a social media platform right now, it’s still a good idea to secure your brand name in case you change your strategy later.
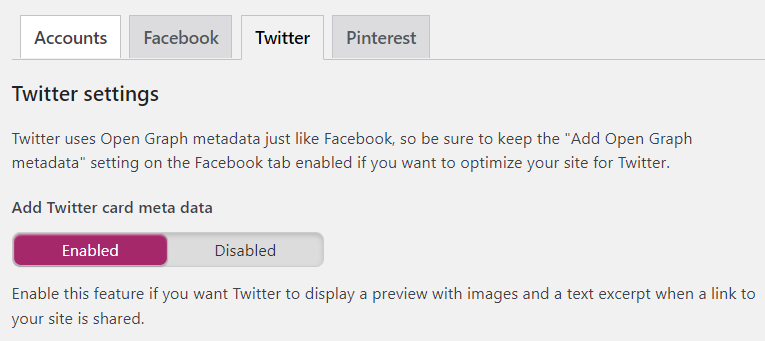
Configure social meta data for your site using Open Graph tags so that your content and images appear optimal when shared on sites like Twitter, Facebook, and Pinterest. On WordPress, you can easily set this up with the help of an SEO plugin like Yoast, shown below. You can also install a social sharing plugin that lets visitors share content directly from your website.
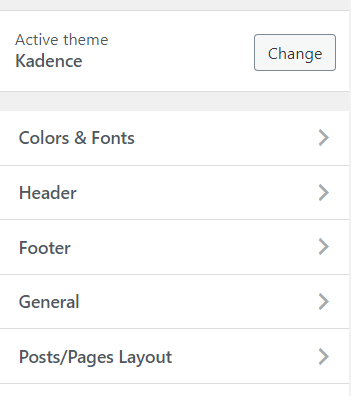
10. Make sure the site reflects your brand
Use the following branding checklist to ensure a cohesive experience for your website visitors:
- Add your logo and link it to the homepage
- Upload a favicon (the small icon that represents your website in browser tabs and bookmark lists)
- Choose a color palette that reflects your brand and use it consistently throughout the website
- Adjust the font style, size, and spacing for HTML elements like paragraphs, lists, and headings
In WordPress, you can make the above changes using the Theme Customizer, accessible from the WordPress dashboard under Appearance > Customize.
11. Optimize the user experience (UX)
If your website is confusing or difficult to navigate, your visitors will become frustrated and leave. Important considerations for a good user experience include:
- Information architecture. Any primary and secondary menus, pages and subpages, and categories and subcategories should make sense from a hierarchical standpoint
- Cross-device compatibility. Your site, including any images and multimedia, should be mobile responsive and render properly across all devices and browsers
- Accessibility best practices. Choose color combinations that are easy on the eyes, and make sure fonts aren’t too small or otherwise difficult to read. Ensure CTA buttons are easy to see and provide feedback (for instance, changing color on mouse hover)
- Functionality. Check that all internal, external, and menu links are working properly and link to the correct pages
12. Check that your site is compliant
Different industries have different requirements for website compliance, so consider consulting with a legal expert to see to it that you’ve checked all the boxes. Typical considerations that may or may not apply to your business include:
- Privacy policy and terms and conditions
- GDPR and cookie consent
- Accessibility standards such as ADA, WCAG, and Section 508
- FTC disclosures for affiliate links (note that some affiliate programs, such as Amazon Associates, have additional requirements for disclosures)
- PCI DSS (Payment Card Industry Data Security Standard)
In addition, obtain licenses for any assets you plan to use on your site, such as logos, images, and fonts.
13. Test contact forms and conversion paths
Test the following critical pieces of infrastructure before and after launch:
- Contact forms
- CTA buttons
- Email opt-in forms
- Registration forms
- Payment pages and shopping carts
- Third-party integrations, such as e-commerce, CRM, and marketing automation software
14. Check for technical SEO issues
Double check that the following items are in place so that search engines can crawl and index your site:
- Robots.txt file is configured to allow search engine bots access to your site
- Redirects are set up for old URLs, if applicable
- All versions of your domain (http, https, www, non-www) redirect to the preferred version
- There are no broken links or 404 errors
- There are no orphan pages (i.e., pages that aren’t linked to from anywhere else on your site)
- Images are correctly sized and compressed
- Canonical tags are in place for duplicate and near-duplicate pages
15. Set up Google Analytics and Search Console
Before you start receiving web traffic, set up Google Analytics and install the tracking code on your site. (If you’re on WordPress, you can do this with a plugin like MonsterInsights.)
Remember to create a rule in Google Analytics to exclude internal IP addresses, such as home and office addresses, from tracking. If applicable, you can also set up goals in your dashboard for tracking conversions.
You’ll also want to create Google Search Console and Bing Webmaster Tools accounts to help you monitor any technical SEO issues in the days and weeks following launch. Be sure to link your Search Console account to Google Analytics so data can flow between them.
After the site is live and you’ve verified that it’s accessible to search engine bots, create and submit an XML sitemap to Search Console and Webmaster Tools to help search engines discover your site’s pages. If you’re using WordPress, your SEO plugin should generate a sitemap for you.
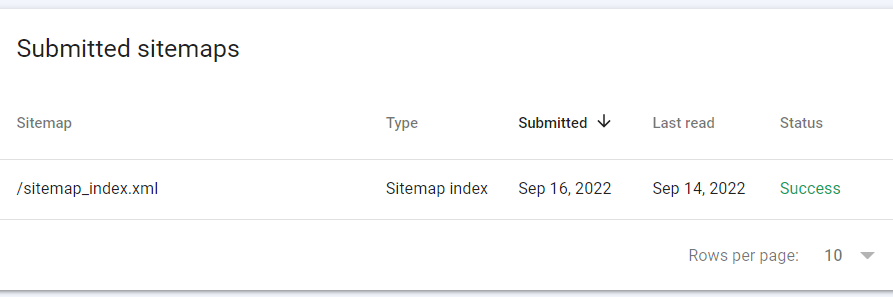
You can also use the URL Inspection tool in Search Console to request indexing or check the status for individual pages.
16. Promote your site
After launch, it’s time to showcase all your hard work! Here are a few ways to consider promoting your new site:
- Email announcements
- Online press releases
- Influencer marketing
- Social media giveaways and contests
- Infographic submission sites
- Podcast appearances or sponsorships
- Local directory listings
- Guest blogging
- Content syndication through established sites like Medium and LinkedIn
Wrapping up
Even if you launch with a minimum viable version of your site, at the very least you should have an SSL certificate in place and make sure there are no major technical SEO issues. An experienced cybersecurity firm like GlobalSign can help with SSL/TLS certificate management and configuration to ensure your site is in line with current industry best practices.
*** This is a Security Bloggers Network syndicated blog from Blog Feed authored by Blog Feed. Read the original post at: https://www.globalsign.com/en/blog/16-must-dos-before-website-launch
