

Step-by-Step Configuration with GitLab

You can manage web vulnerabilities internally with Acunetix. However, these vulnerabilities will need to be fixed by developers and the developers may already use an issue management system. Therefore, managing them internally might not be an optimal choice. In such a case, your vulnerability scanner should be able to work directly with the issue management system.
Acunetix can export discovered vulnerabilities as issues to external issue trackers such as GitLab. In this article, you will learn how to set up a GitLab account and how to set up Acunetix to work with GitLab.
Step 1. Prepare Your GitLab Account for Integration
Create your GitLab Account
- Go to the GitLab site
- Click on the Register button
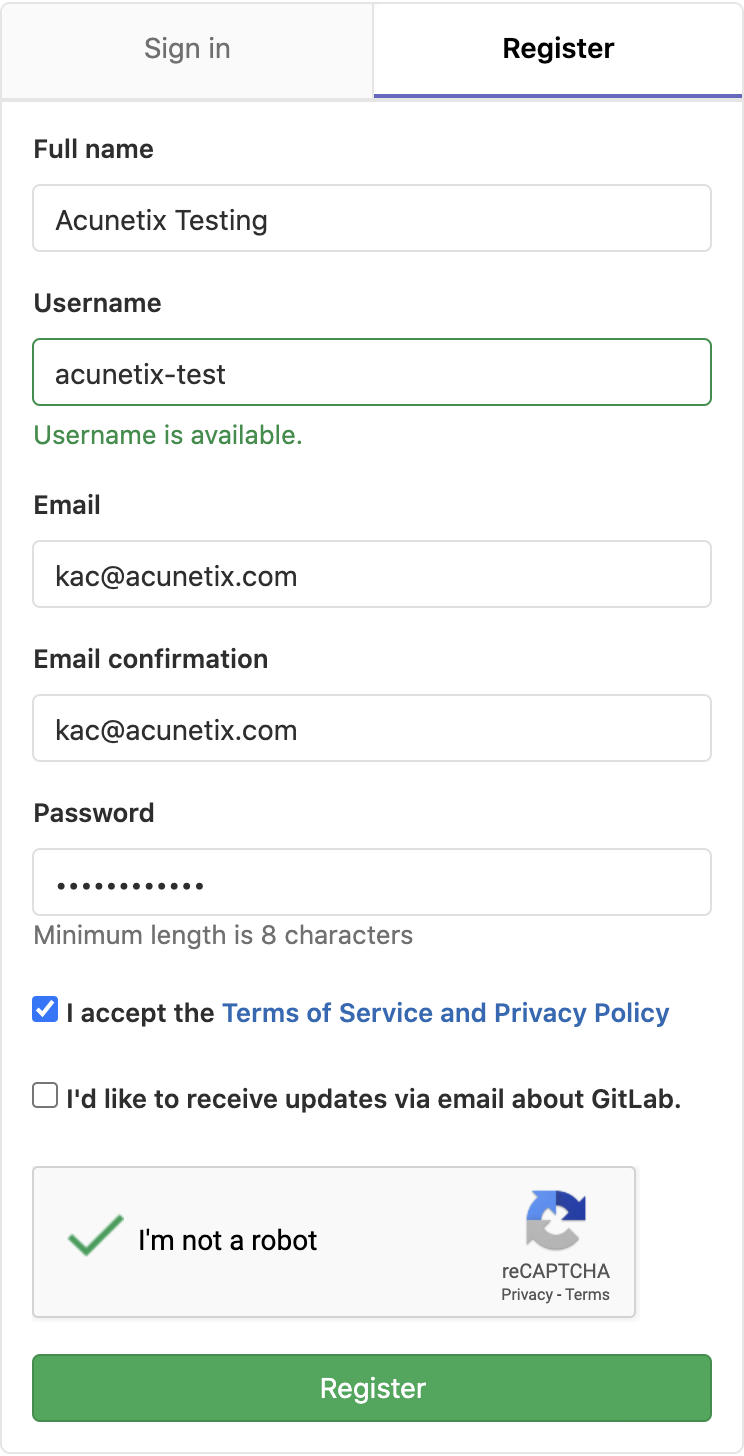
- In the Register panel:
- Enter a Full name for your new account
- Enter a Username for your new account
- Enter a valid Email for your new account
- Choose a Password for your new account
- Solve the CAPTCHA component prior to account creation
- Click on the Register button
- Check your mailbox and click on the link in the account verification email you received; this will send you to the GitLab Projects page
Create a project
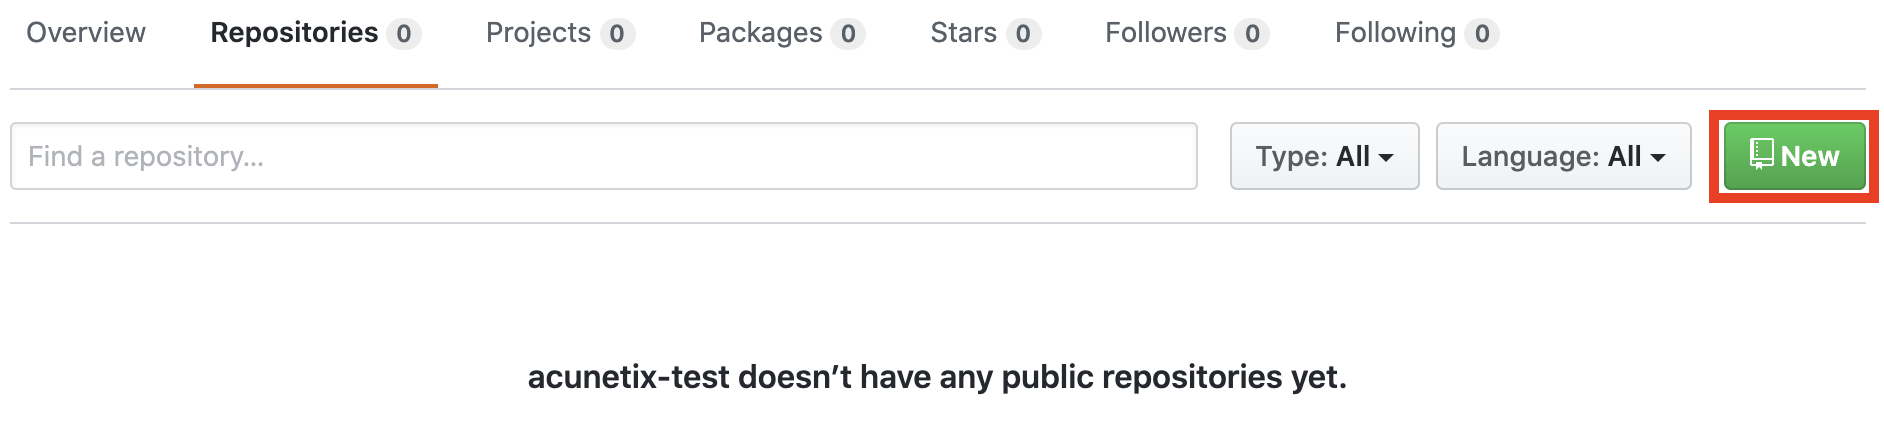
- On your GitLab Projects page, click on Create a project

- Click on the New button
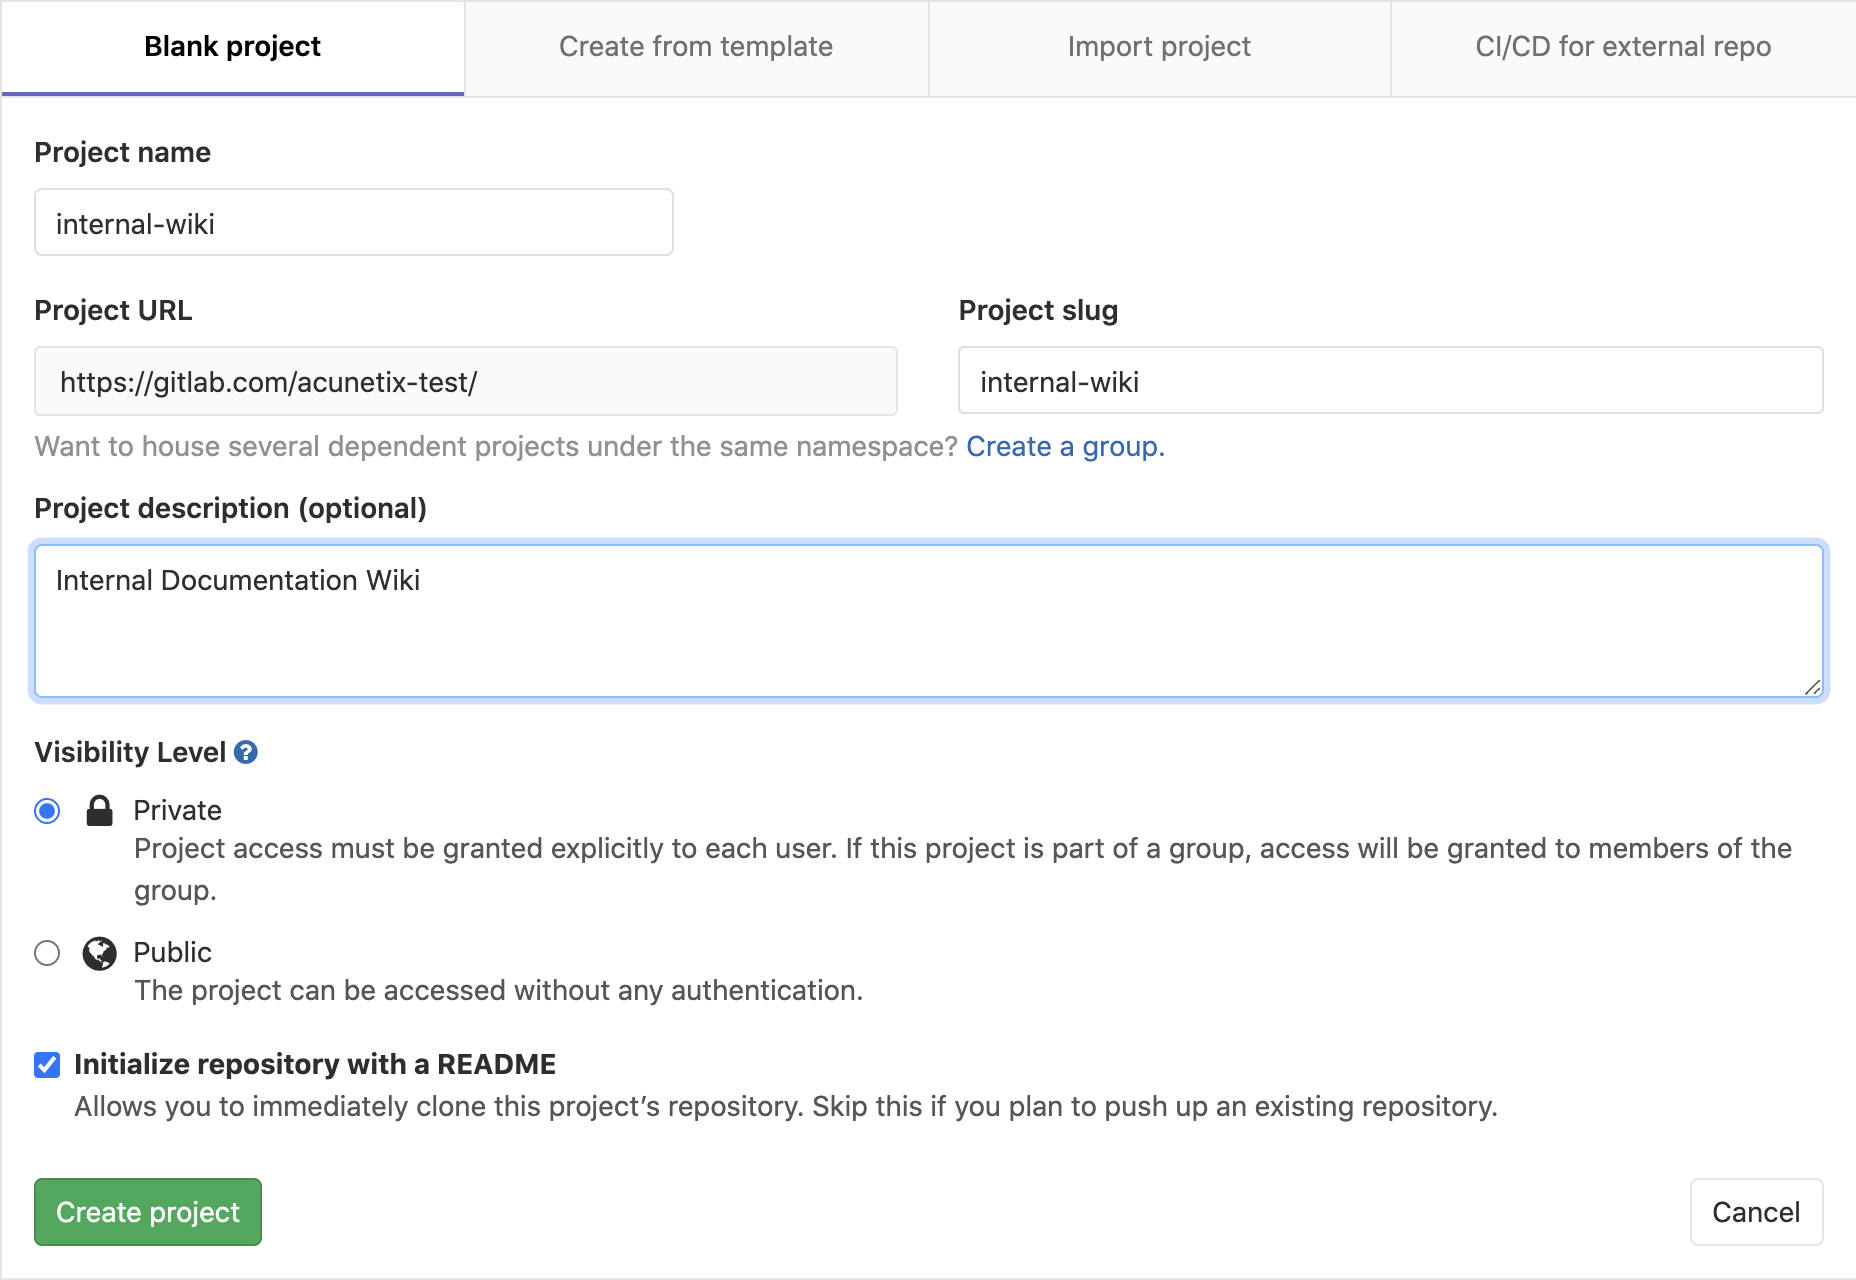
- In the Blank project tab:
- Choose the Project name
- Choose the Project slug
- Optionally, enter a description for the project
- Set the repository to Private (unless you want this project to be visible o the general public)
- Select the checkbox labelled Initialize repository with a README to allow you to work with the repository immediately
- Click on the Create project button
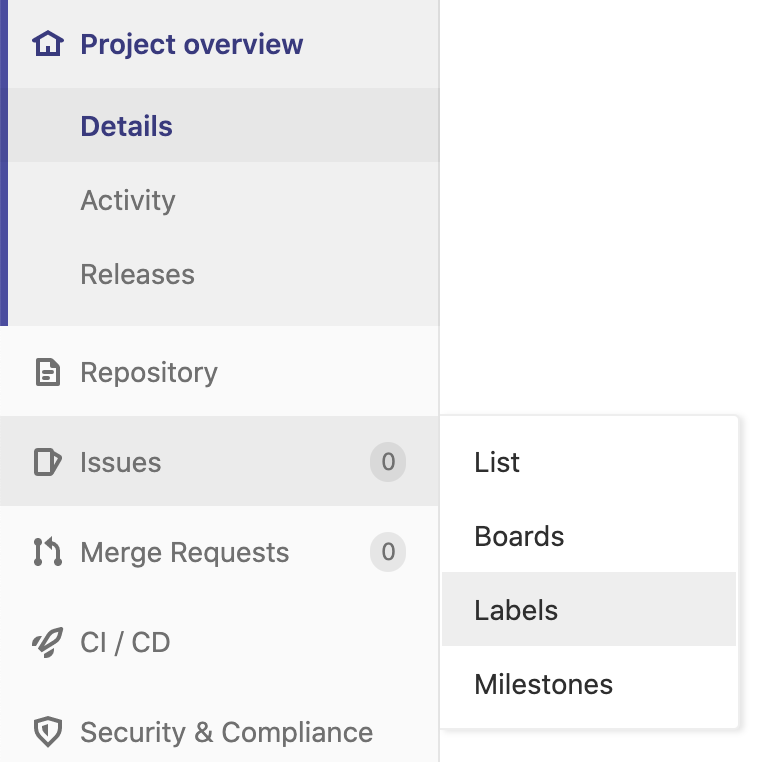
Create Issue Labels for Your Project
- On your project sidebar, click on the Issues → Labels menu item
- Start by creating a default set of labels – click on the Generate a default set of labels button
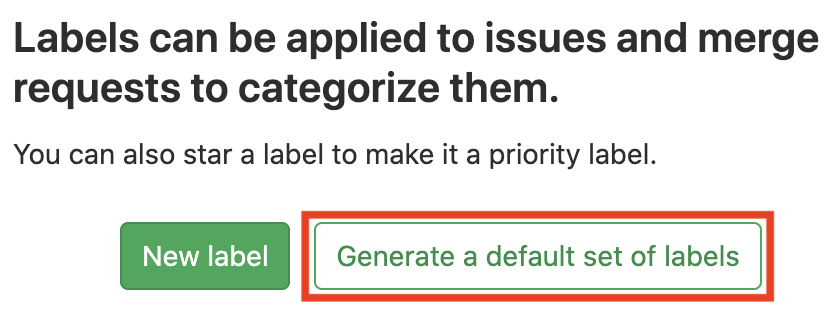
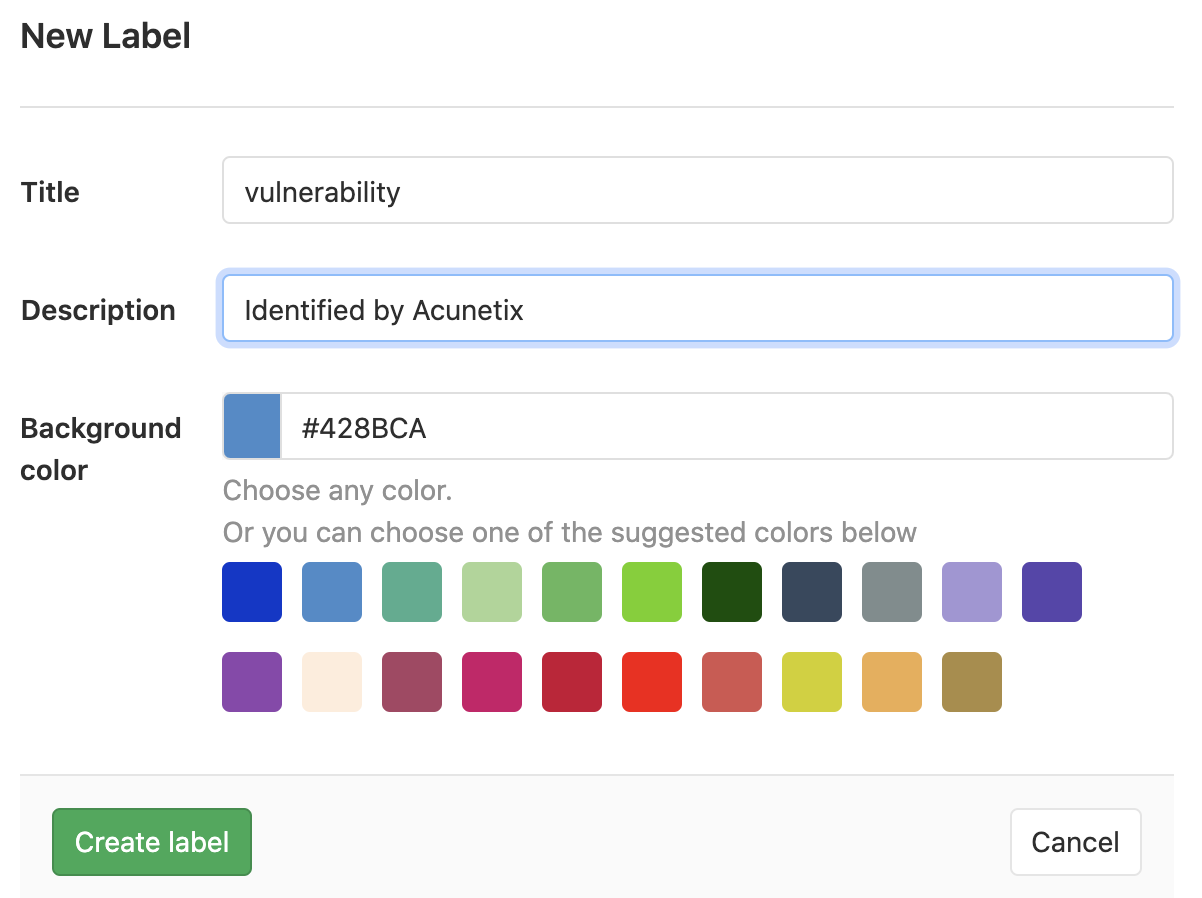
- At the top of the Labels page, click on the New label button

- In the Title field, enter vulnerability
- In the Description field, enter Identified by Acunetix
- Click on the Create label button
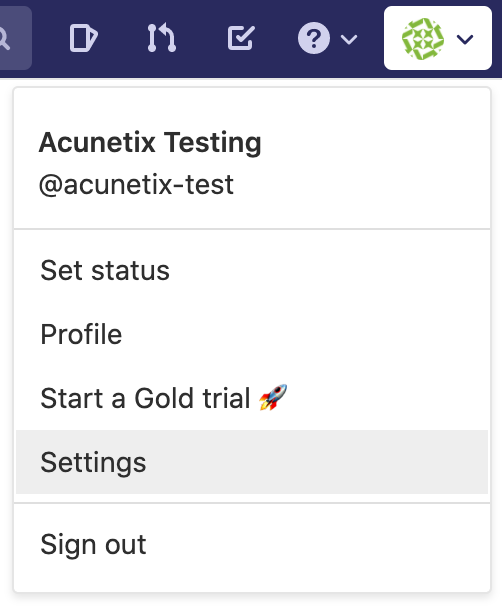
Create a Personal Access Token for Acunetix Integration Authentication
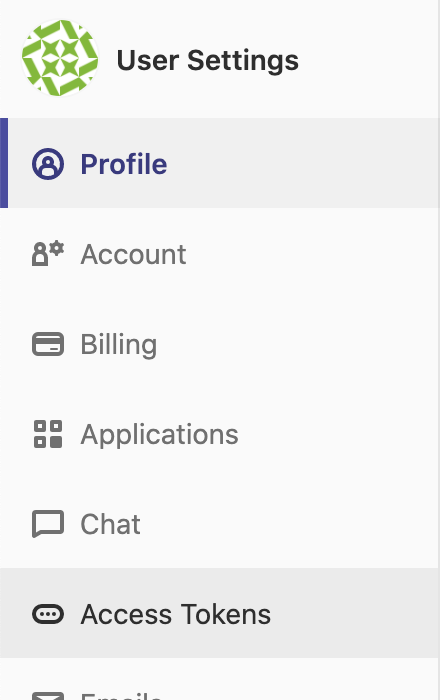
- From your GitLab profile dropdown, select Settings
- Click on the Access Tokens menu item in the User Settings menu in the sidebar
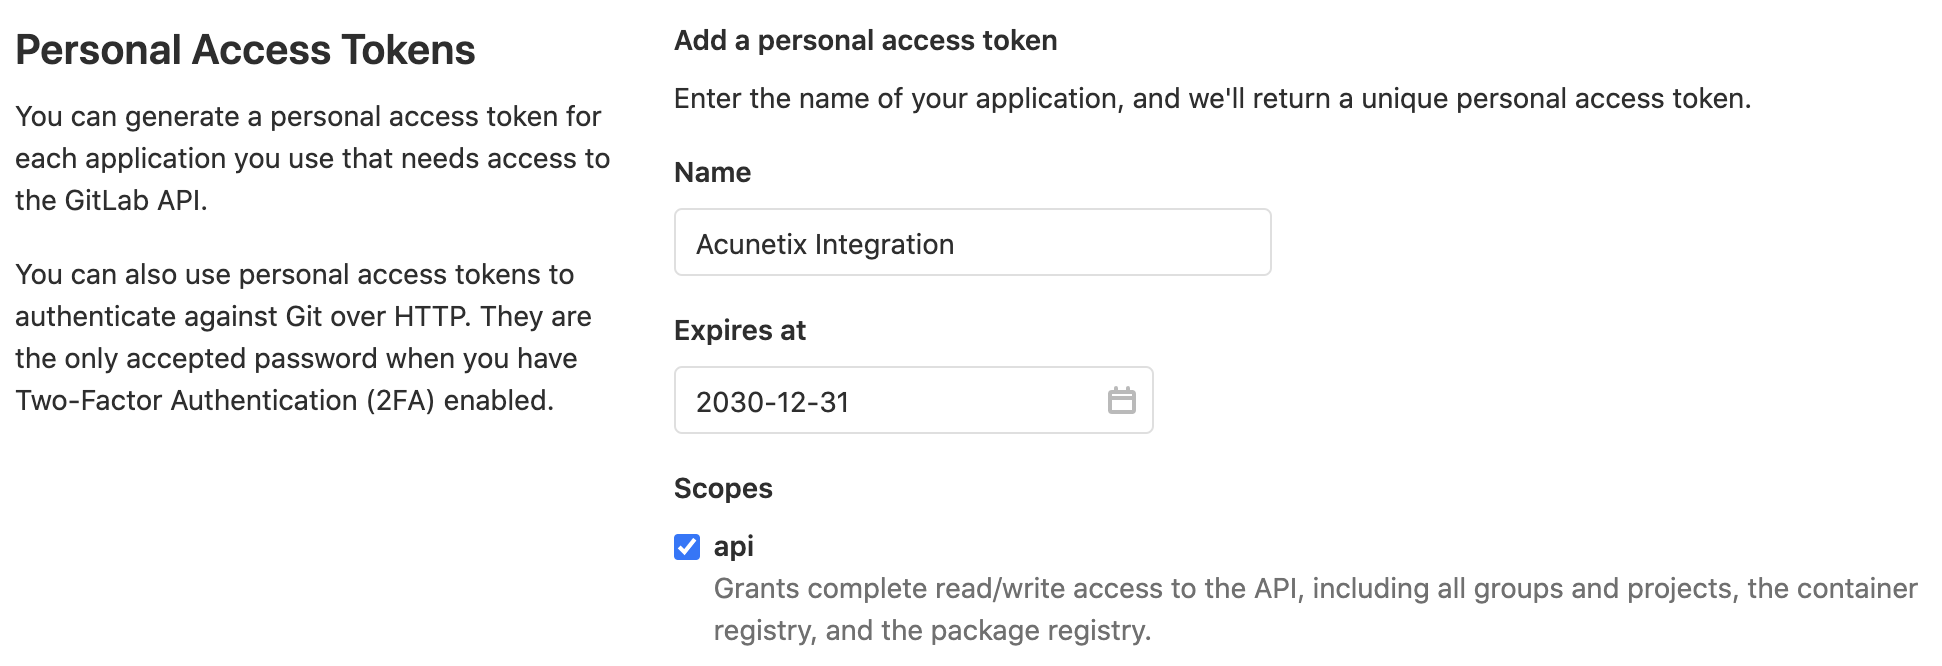
- On the Personal Access Tokens page:
- In the Name field, enter Acunetix Integration – this is only a friendly name to remind you of its use
- Set the Expires at field to the value that you require
- Select the api scope from the Scopes list
- Scroll to the bottom of the page and click on the Create personal access token button
- Make sure you keep a copy of the token – it cannot be retrieved after you exit the page; if you lose the token, you will need to create a new one and repeat the process

Step 2. Configure Acunetix for Integration
- In the Acunetix UI, click on Issue Trackers option in the sidebar
- Click on the Add Issue Tracker button
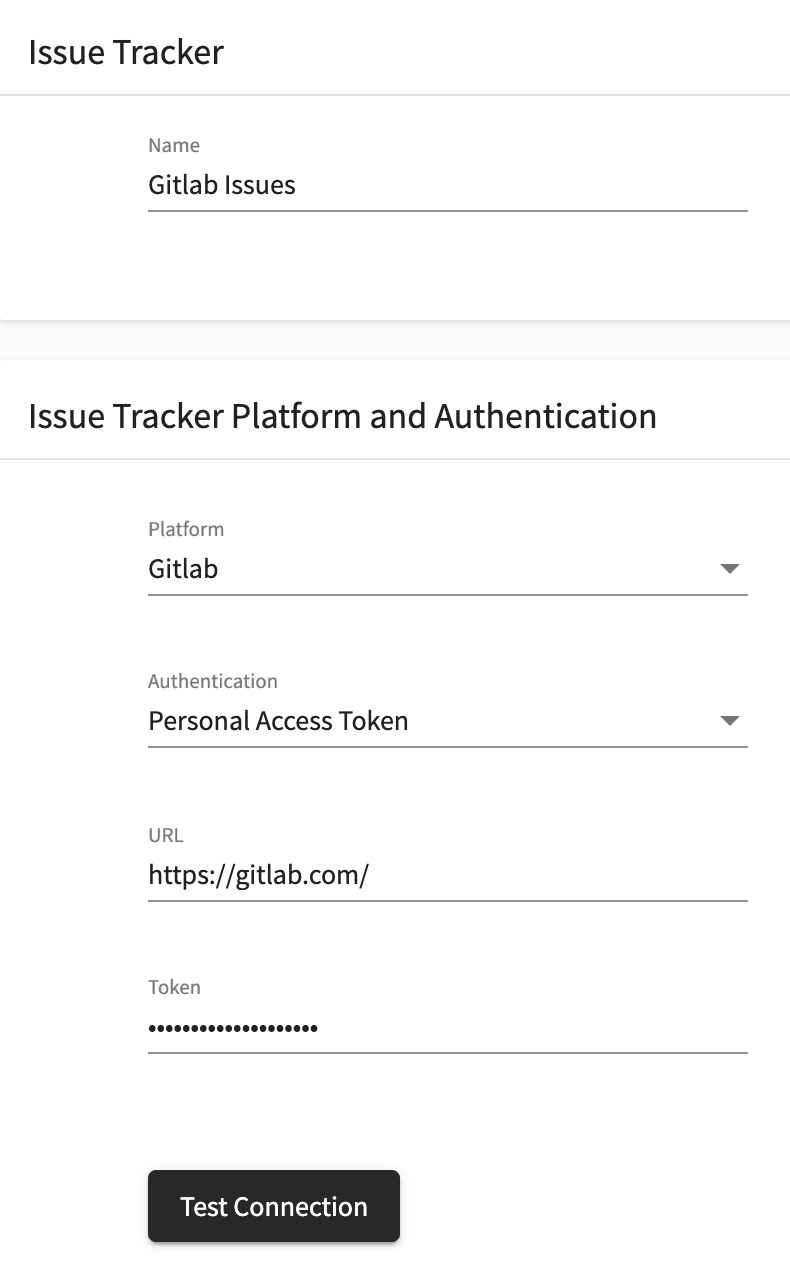
- In the Name field, describe the integration – for this example, we have used GitLab Issues
- Select GitLab from the dropdown labelled Platform
- Set the Authentication field to Personal Access Token
- This example assumes you are using the gitlab.com online service, so you would set the URL to https://gitlab.com
- Paste your GitLab personal access token into the Token field
- Click on the Test Connection button – you should receive a Connection is Successful message; also, the Project and Issue Type panel will be updated with your list of projects and issue labels
- Select the GitLab project you want the integration to be linked to – in this example you would be using the pre-created internal-wiki project
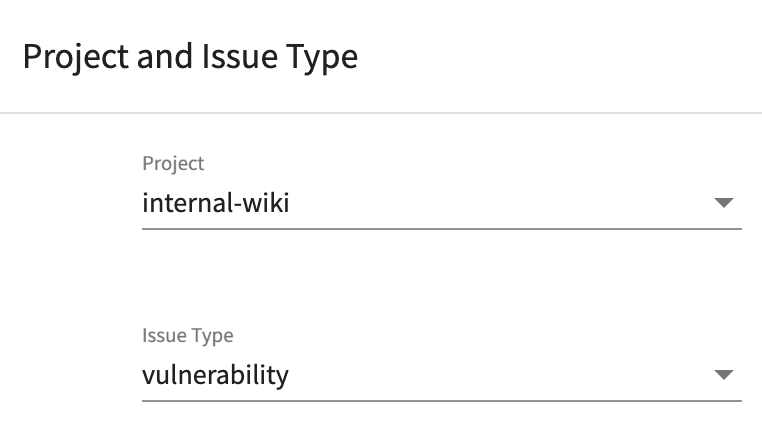
- Select the GitLab issue type you want Acunetix to create when a vulnerability is found – in this example you would be using the custom type vulnerability
- Click on the Save button at the top of the Add Issue Tracker panel
Configure a Target to Report Issues to Your Issue Tracker
From your list of Targets, select the Target you wish to work with.
- In the Target Information panel, scroll to the bottom of the panel and expand the Advanced link
- Enable the Issue Tracker slider
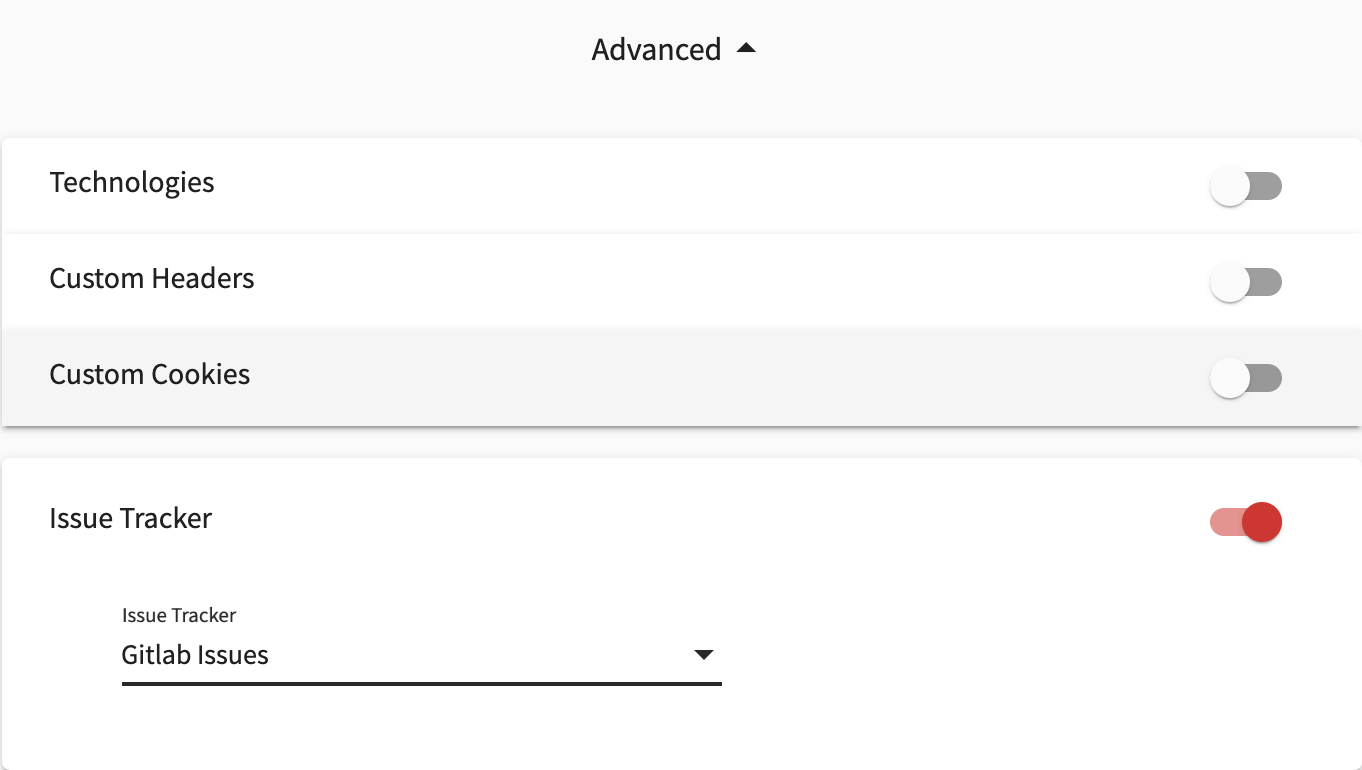
- From the Issue Tracker dropdown, select the name of the GitLab integration configuration you wish to use
- At the top of the Target Information panel, click on the Save button
Now that your target is configured to link to GitLab, you need to scan your target. When the scan is completed, you will be able to select the vulnerabilities to submit to your issue tracker.
Submit Vulnerabilities to GitLab
Once you have completed a scan on your target:
- Select Vulnerabilities in the sidebar
- Adjust your filter to obtain a shortlist containing the vulnerabilities you wish to send to your issue tracker
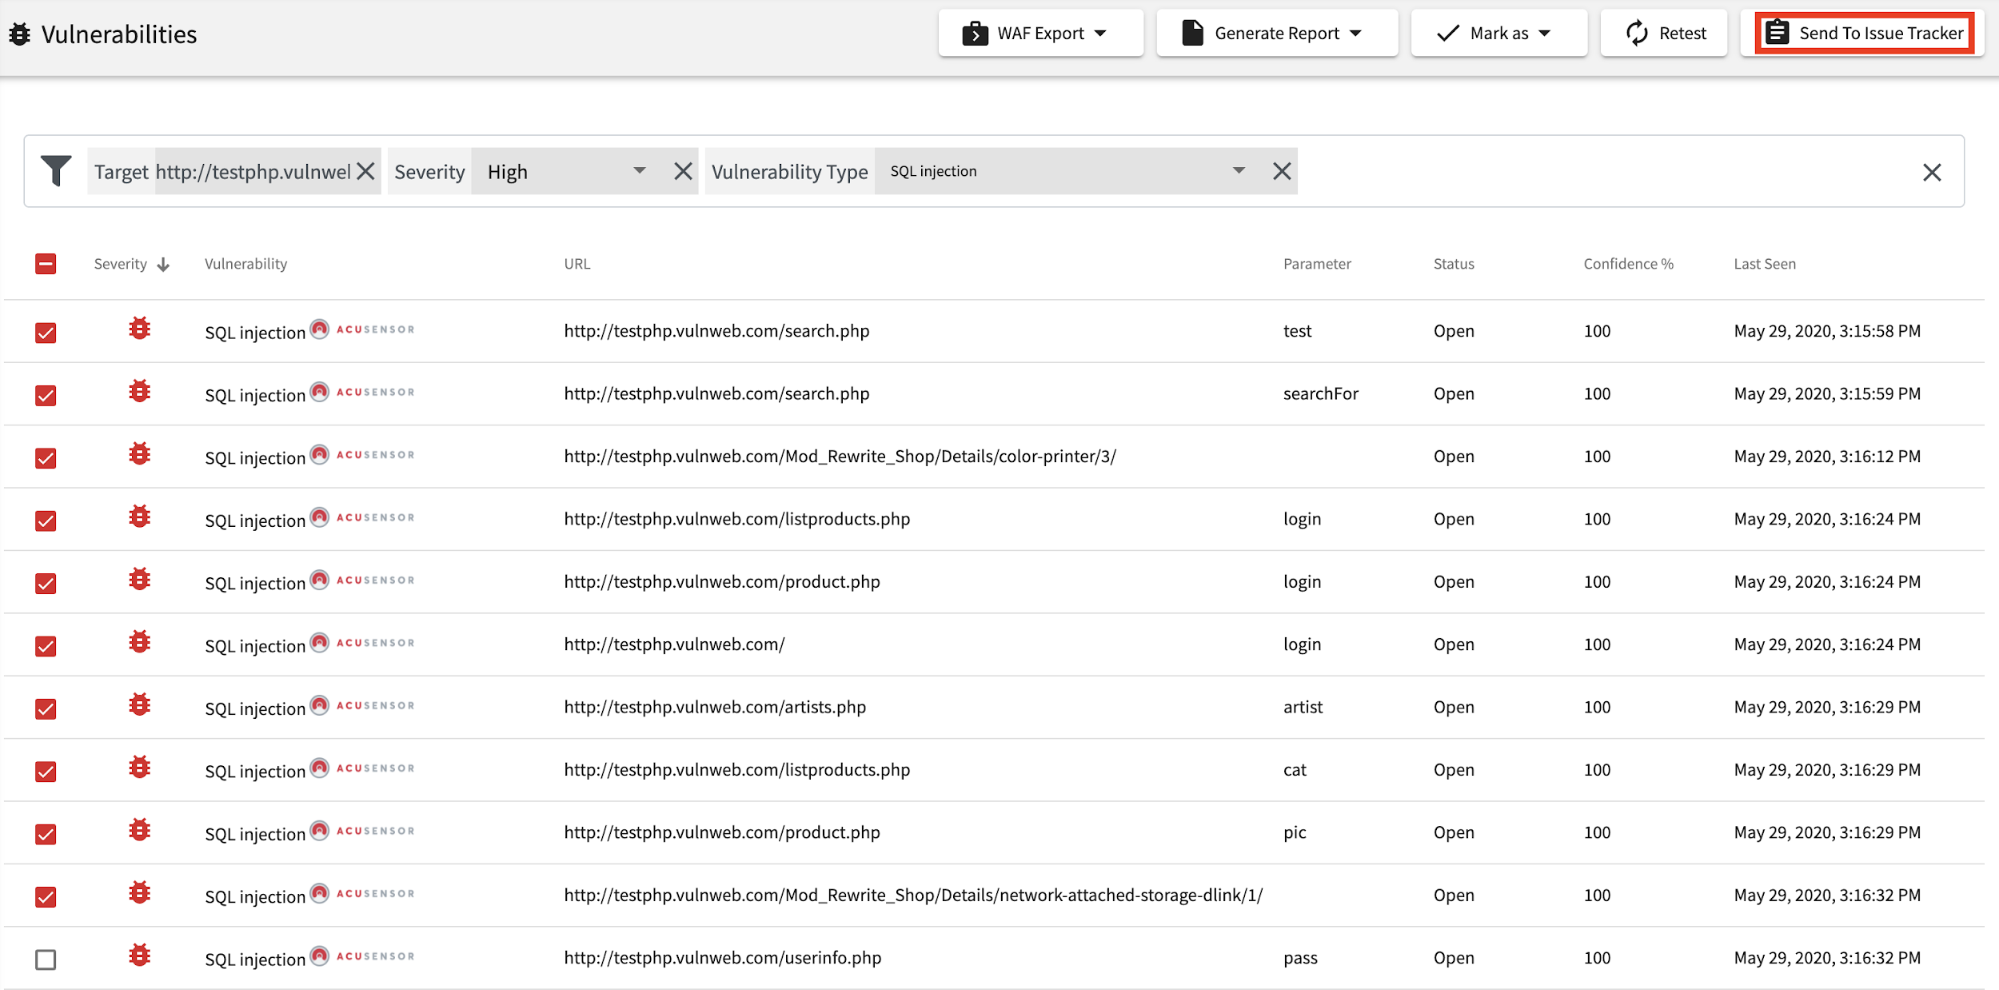
- Use the checkboxes next to vulnerabilities to select the vulnerabilities to send to the issue tracker
- Click on the Send to Issue Tracker button at the top of the Vulnerabilities panel
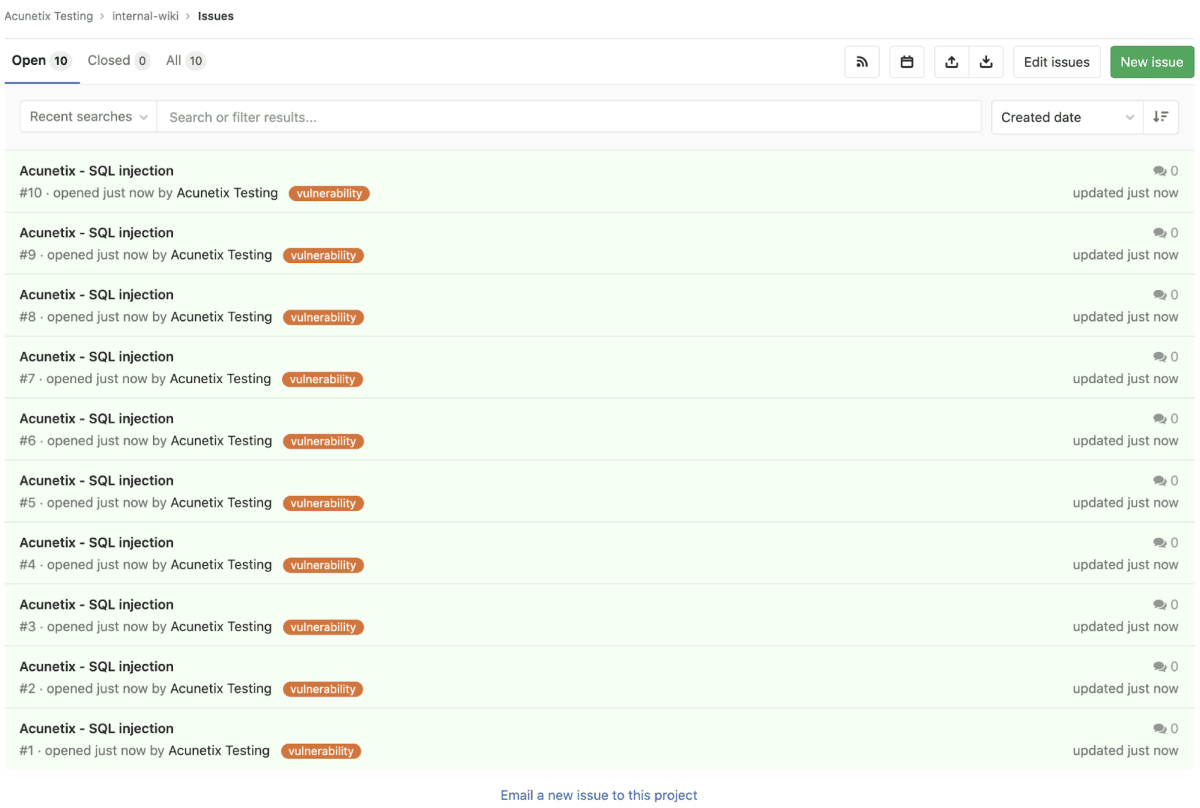
Check Your GitLab Issues Page
Your GitLab Issues page will show the issues you have submitted to the issue tracker.
Get the latest content on web security
in your inbox each week.
THE AUTHOR

Technical Writer
Kevin Attard Compagno is a Technical Writer working for Acunetix. A technical writer, translator, and general IT buff for over 30 years, Kevin used to run Technical Support teams and create training documents and other material for in-house technical staff.


*** This is a Security Bloggers Network syndicated blog from Web Security Blog – Acunetix authored by Kevin Attard Compagno. Read the original post at: http://feedproxy.google.com/~r/acunetixwebapplicationsecurityblog/~3/4wDIP3sbbyc/
