

How to Use Excluded Hours
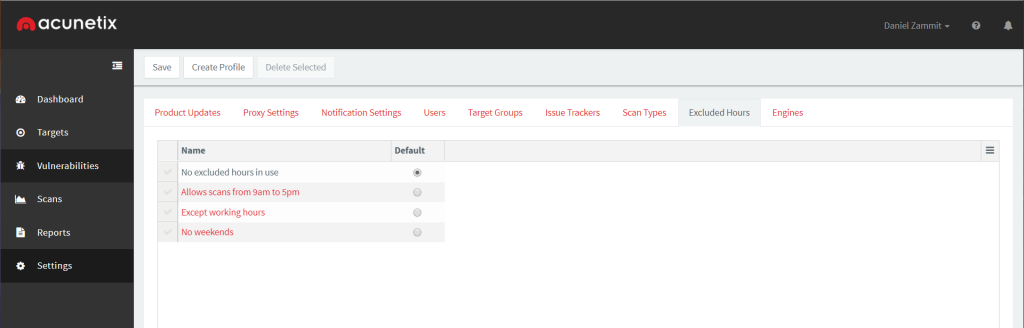
Acunetix provides additional functionality for managing your scans. You may encounter a situation, where scans should not interfere with scheduled deployments or hinder the web application functionality during certain times. With that in mind, it is possible to configure excluded hours for Acunetix during which no scans will be done. You can access the excluded hours settings by clicking on Settings > Excluded Hours.
Acunetix is installed with a predefined set of common excluded hours profiles. The predefined profiles include excluded hours during or after working hours or on weekends. You can also choose to configure a Default excluded hours profile, which will be used for all configured targets by default. The default is to allow scans every hour of each day.
Creating a New Excluded Hours Profile
You can create your custom excluded hours profile by clicking on the Create Profile button on the top bar.
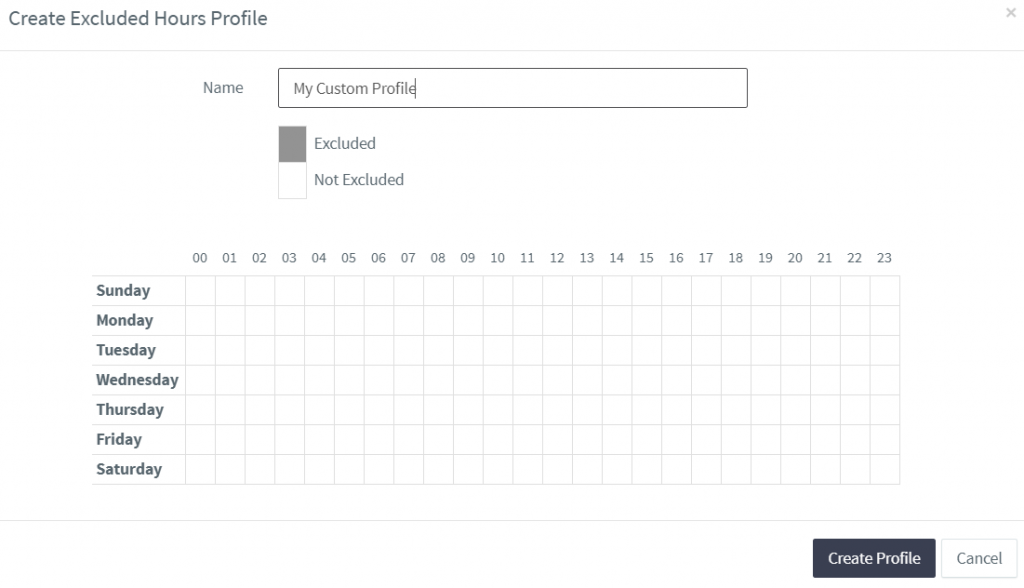
Provide a name for the new profile and select hours that will be excluded from the scan window. Each column indicates the hour of the day and each row represents the day of the week. The following screenshot shows an example of an excluded hours profile in which scans will be paused or will not be started every day between 8 AM and 9 AM.
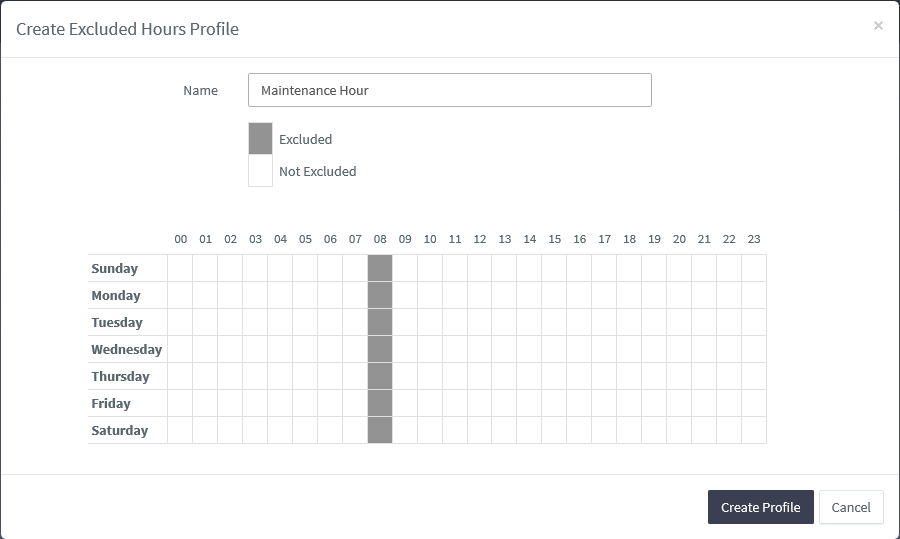
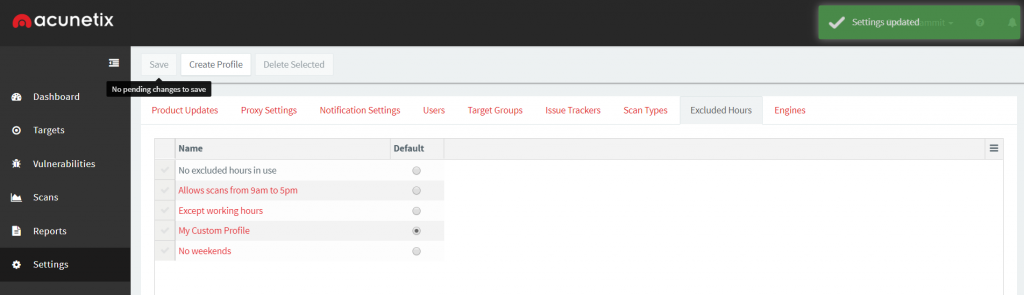
Click on the Create Profile button to create the new excluded hours profile. This example can be used by companies that do not want Acunetix scans to interfere with a maintenance period, which begins every morning at 8 AM. Optionally, you can select the new profile as the Default profile to apply it to all targets that do not have a specific profile configured.
Configuring a Target to Use an Excluded Hours Profile
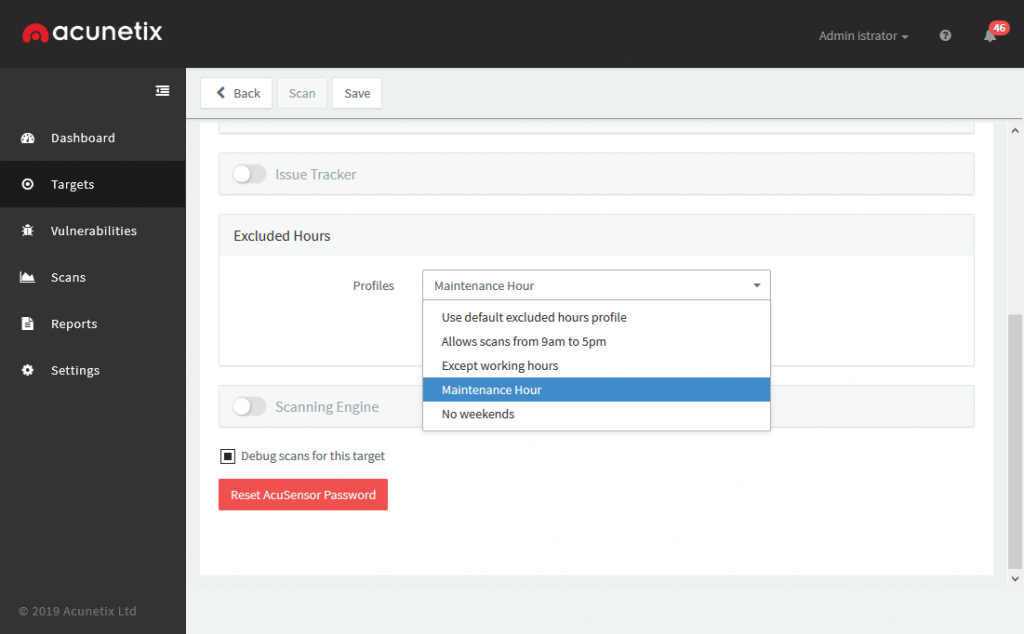
As already mentioned above, all new targets will use the default excluded hours profile. You can configure a target to use a specific excluded hours profile on the target configuration page (Targets > selected target > Advanced > Excluded Hours). Choose the excluded hours profile from the Profiles drop-down and click on the Save button on the top bar to save target settings.
Tips Regarding Excluded Hours
Excluded hours make scan management more flexible. It is especially important in the case of large web applications because you may need several hours to thoroughly scan various web pages and forms.
Even though you can select any excluded hours, it is not a good idea to exclude all hours except for a one-hour slot. If the scan needs more than an hour to complete, it will never finish. It will start during the non-excluded slot, then go into the Pause state. However, if it is in the Pause state for too long, it will automatically be canceled. Therefore, during the next free time slot, it will start from the beginning and the above process will repeat forever.
For more information about configuring excluded hours, contact our support team: [email protected].
 Daniel Zammit Acunetix Technical Guru
LinkedIn: https://www.linkedin.com/in/danielzammit/
Daniel Zammit is an experienced IT Engineer, specialized in system administration. His background is Business and IT, with an interest in web development and machine learning techniques for network security applications.


*** This is a Security Bloggers Network syndicated blog from Web Security Blog – Acunetix authored by Daniel Zammit. Read the original post at: http://feedproxy.google.com/~r/acunetixwebapplicationsecurityblog/~3/0zp76ZptQIY/
