

Configuring a Password Cracking Computer
- “Be willing to be a beginner every single morning.” —Meister Eckhart
Disclaimer: While the reason I’m writing this is because I was lucky enough to win a new cracking rig from Netmux’s Hash Crack Challenge, I want to state for the record that he never asked me to blog about it, and all of the good things I say are 100% of my own choosing and not contingent on me receiving any prize.
2nd Disclaimer: I plan on this being a “living” blog entry as I continue to update and use my new computer. Since install procedures change over time, for the record I started to perform my install on September 7th 2018. I’ll try to date my entries as I write them to help anyone trying to follow this so they can estimate how useful these instructions are.
ChangeLog:
- September 12, 2018, (rearranged sections, added MDXFind, updated installing OpenCL instructions)
September 7, 2018 (Computer Arrives):
Wow, I suddenly and unexpectedly found myself in possession of a dedicated password cracking machine! For more background how that happened, please refer to my post on Netmux’s Hash Cracking Challenge here. For the record, Netmux was amazing when it came to promptly shipping my portable cracking rig and keeping me in the loop. I’ll admit I was a bit hesitant to hand out my home address to professional pen-tester and password cracker I met on the internet, but I’ve made a lot worse threat modeling decisions in the past, (There is a story behind the first picture that gets everyone who knows and cares about me legit angry for the stupid trust I’ve put in absolute strangers before). Long story short, Netmux was professional in shipping the server, kept me in the loop, and when it showed up I was super excited! As some background, while I study password cracking, develop and analyze password cracking tools, and participate in password cracking challenges, I’ve never been willing to personally invest in a dedicated password cracking rig. Mostly I’ve made do with a 2010 MacBook Pro, and a Windows machine with a GTX970 that I’ll freely admit spends more time running Excel and playing World of Warcraft than cracking hashes. Which is another way of saying please take all my advice with a grain of salt, and the understanding that I’m planning on using this new server for research. I’m not optimizing it as a pure password cracking rig. But also this is a way of saying that I no longer have any excuses in how much I contribute in password cracking challenges in the future! This gift has inspired me to start a few new research projects so I want to give yet another huge thanks to Netmux!!! If you see me post additional blog content in the next few months or update my PCFG cracker, please give credit to him!
A Quick Aside on my New Password Cracking Rig:
Let me first say that it arrived in perfect shape so of course the first thing I did was crack it open and look at the inside…
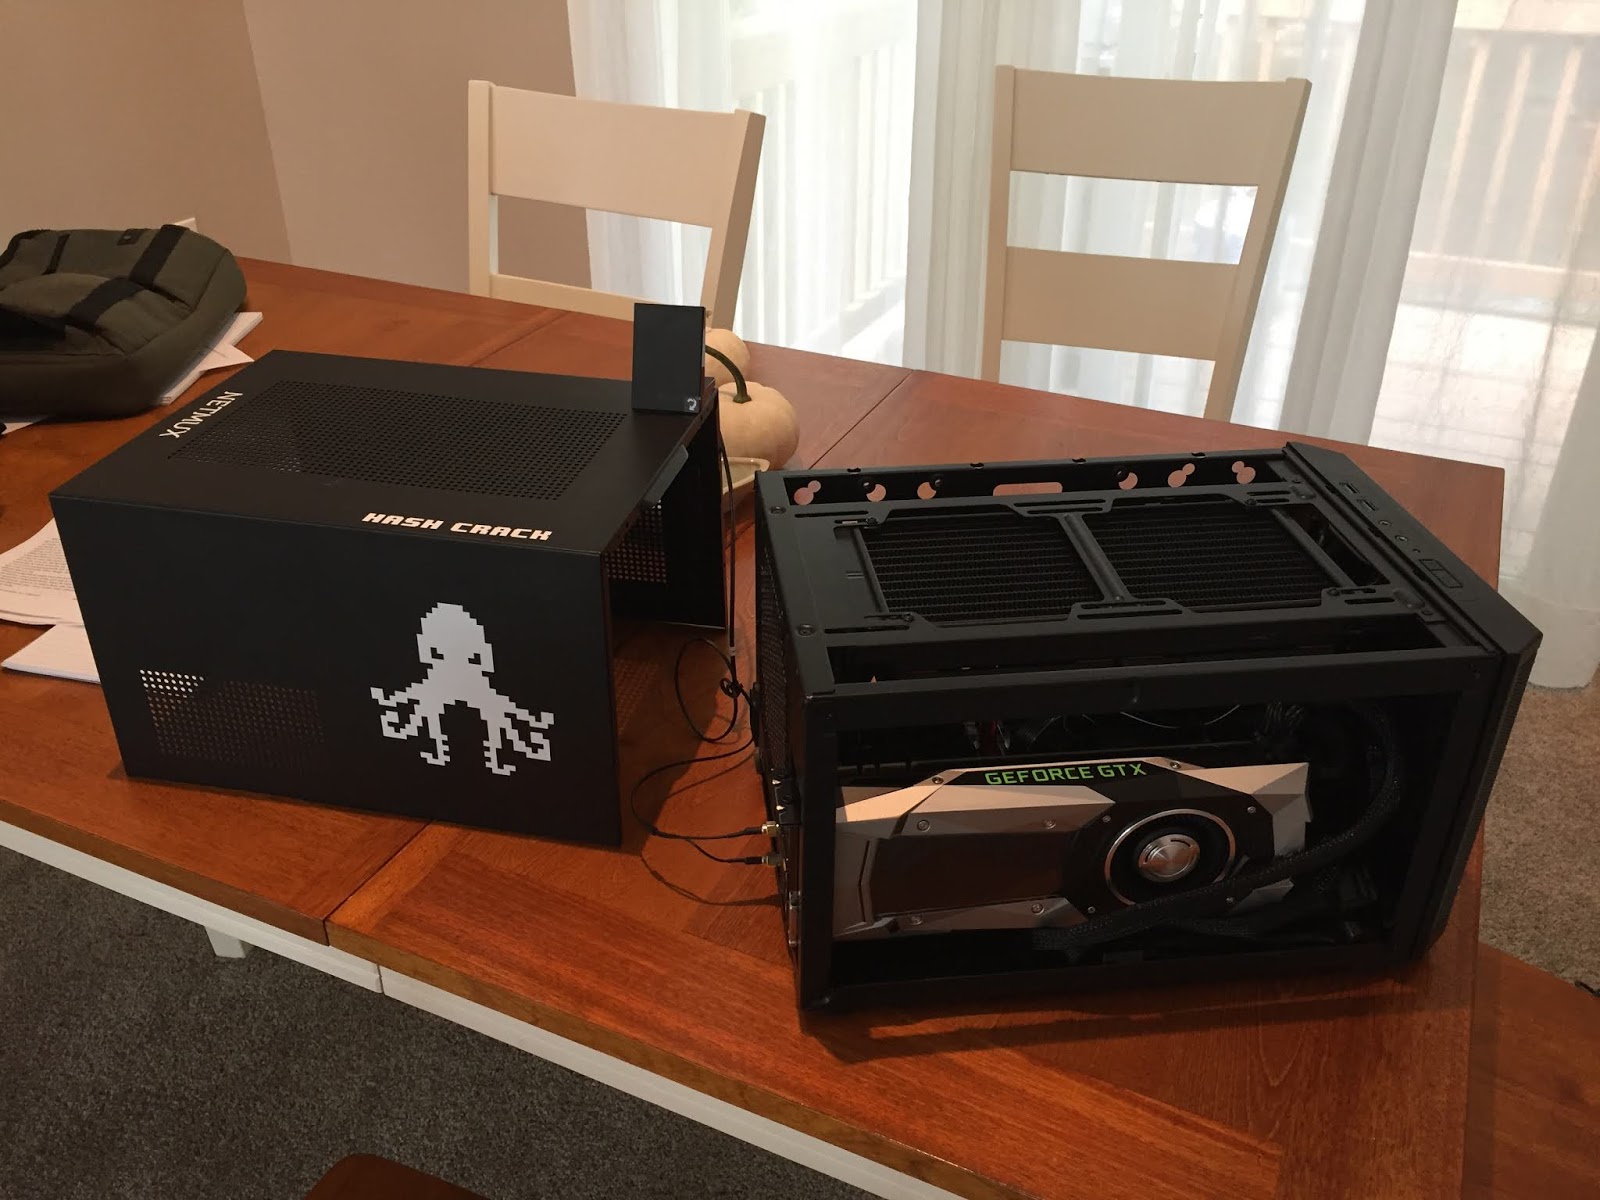 |
| My new rig from Netmux |
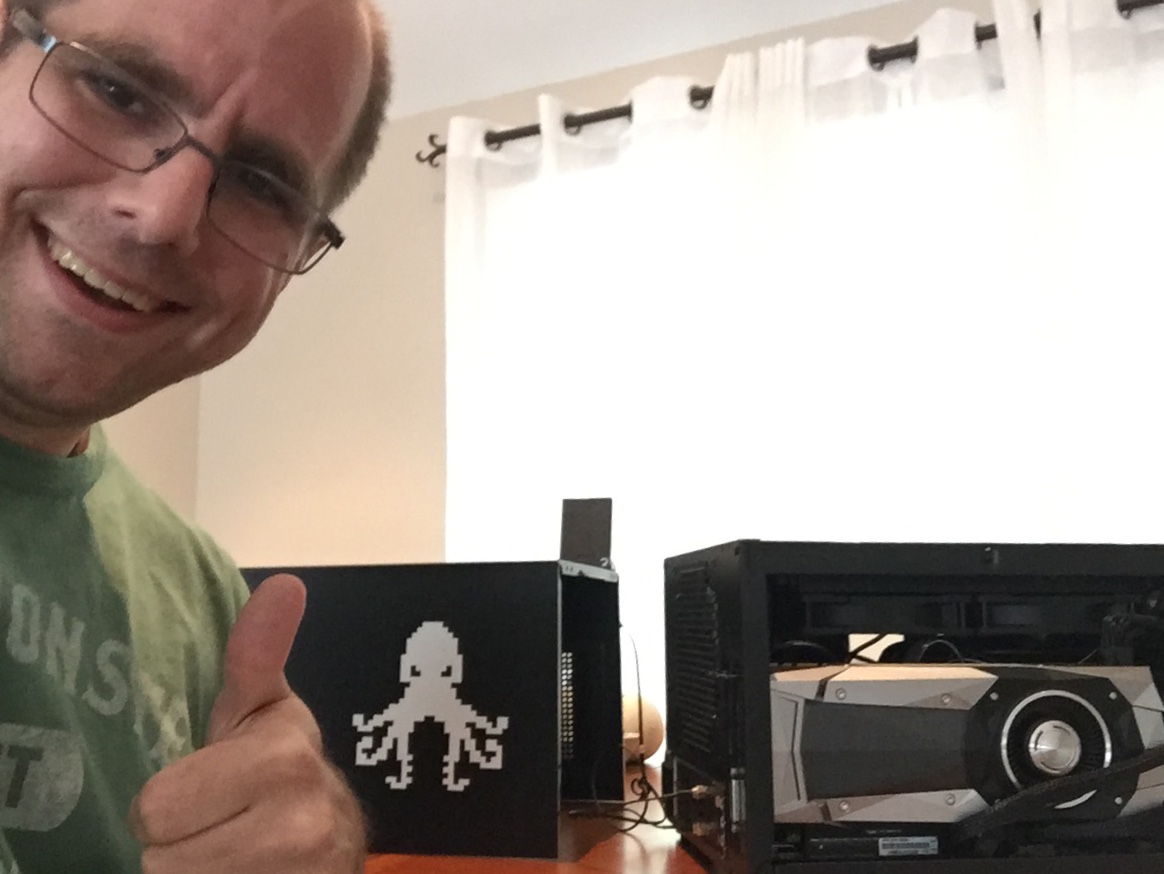 |
| Super excited!!! |
The wiring was very well done, the whole rig is water cooled, the case certainly adds hacker creds, and little things were taken care of such as having good filters over the air vents which is pretty much a make or break requirement for this cat owner. I’m *very* happy with it, and would recommend it to someone else.
As far as the specs go:
CPU: Intel i5-7600k, 1 processor; 4 cores
RAM: 16GB
Storage: 500GB SSD
GPU: GeForce GTX 1070
Installing the OS:
Netmux’s cracking rig came pre-installed with Ubuntu, but I figured I might as well re-install everything from scratch. After consulting with several password cracking experts I’m lucky to know, my end decision was to re-install Ubuntu. The version I used was 18.04.1 LTS. I plan on using this server for research as well so I went with a full graphical desktop. If you are hardcore and want 100% of your machine devoted to cracking then by all means go with a server deployment, but this guide probably won’t help you to much since I *love* GUIs. Spoiler alert, I recommend installing a GUI git client like GitKracken, so that’s where this guide is taking you.
Building the Boot USB (September 7, 2018):
Like anyone has a DVD anymore… The very first step I took was to create a bootable USB.
Steps:
- You can download an Ubunto ISO from here
- Since I already was running Ubuntu, I could use Startup Disk Creator to create a bootable USB drive. You can perform a search, (use the Windows key), for that application if you are running Ubuntu already.
- Follow the options to create a bootable USB using the ISO that you previously downloaded
Installing Ubuntu fro USB (September 7, 2018):
- Use multiple swear words and reboot several times until you find the BIOS option to change your boot preference to start with your USB drive. In my case it was hitting F2.
- Once you boot from the USB, follow the steps in the Ubuntu installer and configure it how you want.
- If you are going to configure full hard drive encryption, (this will be a real portable rig that will potentially be unattended in your car when you make a restroom stop, or you are worried about legal issues), this is the time to configure full hard drive encryption. Just saying.
Core OS Drivers and Important Tools for Other Capabilities:
Installing OpenCL drivers (Originally installed September 7, 2018, updated September 12):
- Download the appropriate Opencl Drivers for your system. We are specifically looking for “Intel® Xeon™ Processors OR Intel® Core™ Processors OpenCL runtime” drivers.
- Drivers at the current time of writing this are located here: https://software.intel.com/en-us/articles/opencl-drivers
- The current version at the time of writing this can be found: http://registrationcenter-download.intel.com/akdlm/irc_nas/12556/opencl_runtime_16.1.2_x64_rh_6.4.0.37.tgz
- Run: wget http://registrationcenter-download.intel.com/akdlm/irc_nas/12556/opencl_runtime_16.1.2_x64_rh_6.4.0.37.tgz
- Extract the archive:
- tar -xvzf opencl_runtime*.tgz
- The opencl runtime requires `lsb-core` to be installed on the ubuntu machine:
- sudo apt install lsb-core
- Now install the drivers:
- Go to the intel directory that you extracted in step #2
- sudo ./install.sh
- Work your way through the installer answering questions as needed. The install script will complain that your Ubuntu operating system is not supported this is fine continue with the installation anyway.
- Let’s verify we have a working Opencl environment by installing and running `clinfo`
- Note: clinfo was already installed on my machine, but one of the other tools I installed later may have installed it — Matt
- sudo apt install clinfo
- clinfo
- The output of clinfo should display detailed information about each CPU core you have on your system. Simply put “Lots of output = all good” If OpenCL did not install properly you will see short and specific errors after running clinfo.
Installing NVidia Drivers (September 7, 2018):
- Run: ubuntu-drivers devices
- Select the driver from the list you want to install. In my case it was:
- sudo apt-get install nvidia-driver-396
- Sudo apt-get install git
- Install GitKracken from https://www.gitkraken.com/
- Run the following command or gitkracken will never actually start: sudo apt install libgnome-keyring0
- Once GitKracken is installed, log in to your github account using it
- Now add your computer’s SSH key to your github account using: File->Preferences->Authentication->Github.com->Add_SSH_Public_Key
Install Hashcat (September 7, 2018):
- Install Hashcat using your git tool of choice. If you are using GitKracken, import the following repo: [email protected]:hashcat/hashcat.git
- Full instuctions for installing Hashcat can be found at: https://github.com/hashcat/hashcat/blob/master/BUILD.md
- You’ll need to update the OpenCL Header submodule. This can be done in GitKracken by importing Hashcat using the above link and then in gitkracken “viewing Left Hand Side” at SubModules, right clicking on the deps/OpenCl-Headers, and selecting “Create” or “Update”, If you are not using GitKracken, follow the instructions listed in step #2
- In a terminal, select “make”, and then “make install”
- By building from source, you can periodically pull from the Hashcat repository and re-build it to add new features before an “official” release is published
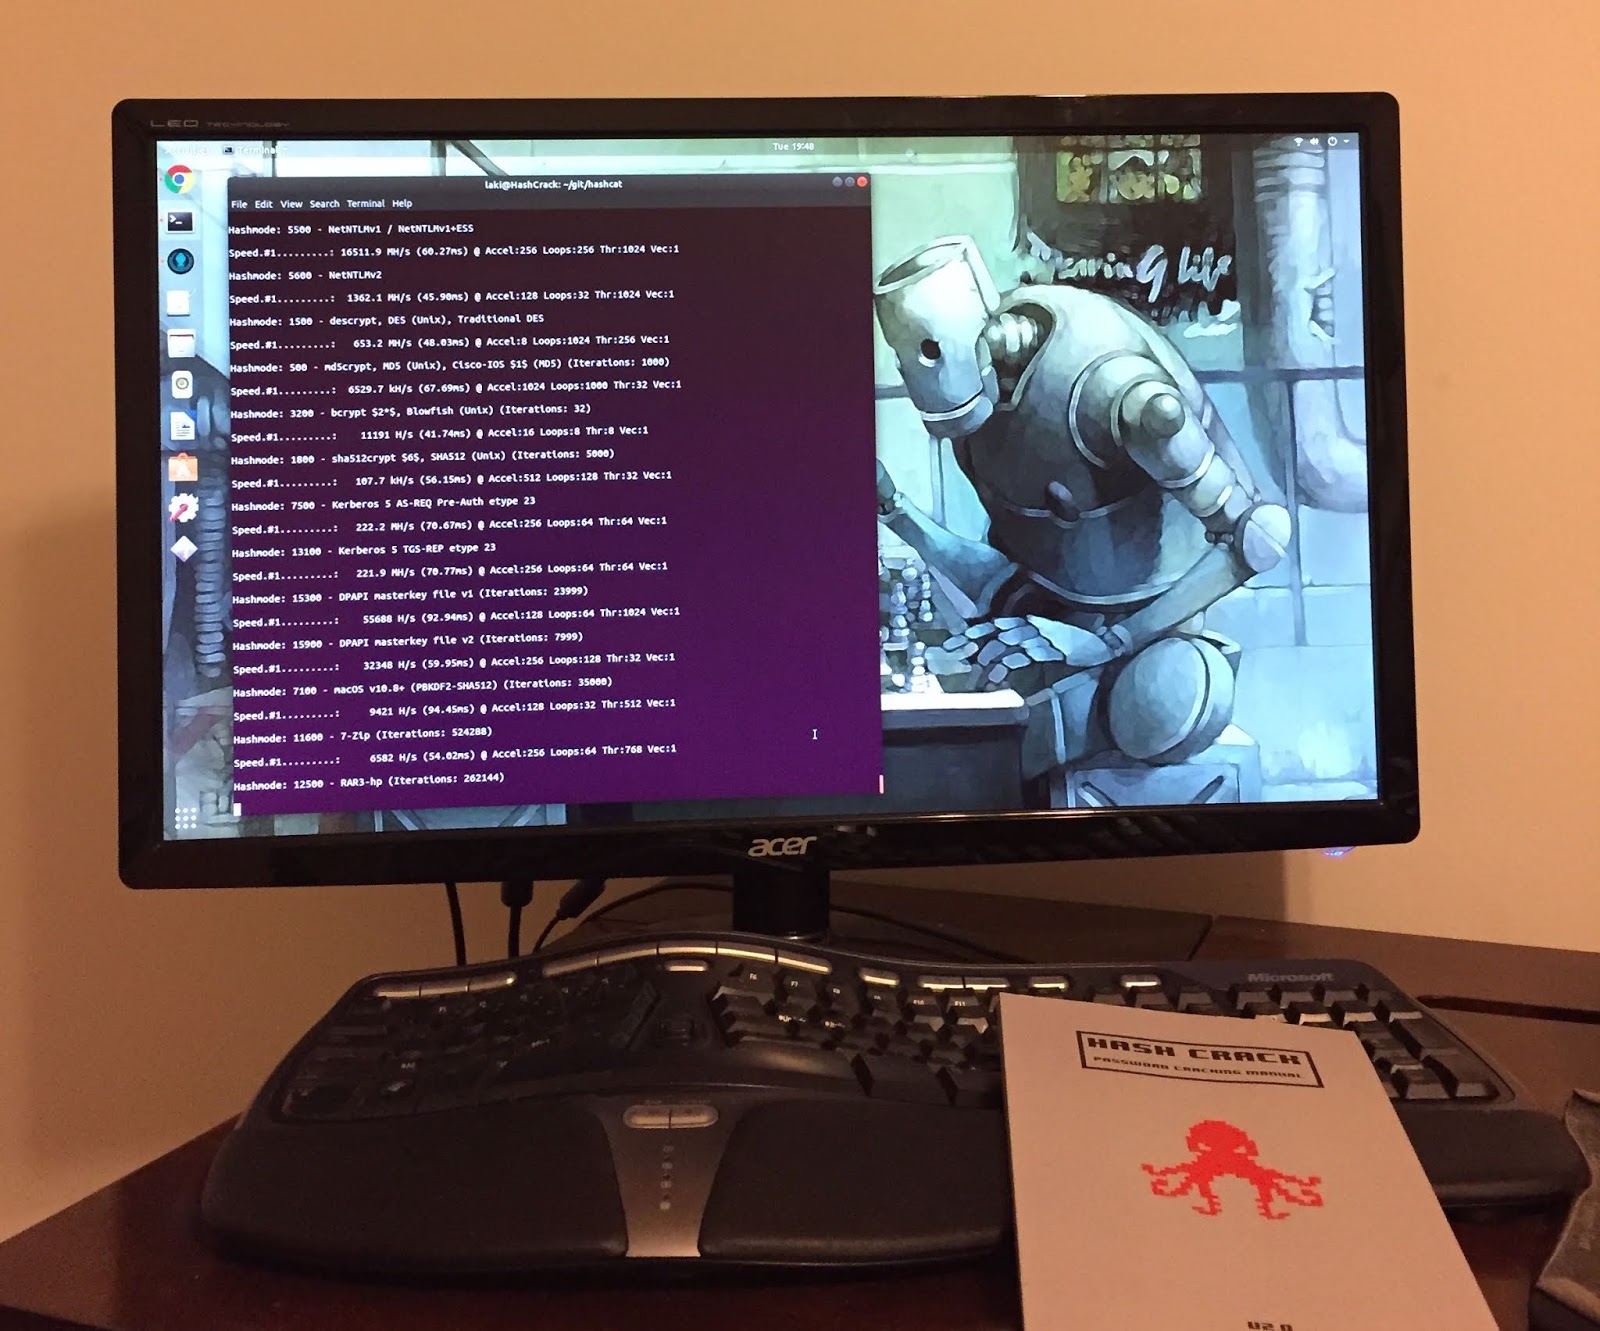 |
| Benchmarking Hashcat With New Install, (and gratuitous plug for NetMux’s Hashcracking Manual which is awesome) |
Install John the Ripper (September 7, 2018):
- Install the following branch of John the Ripper: https://github.com/magnumripper/JohnTheRipper./
- Install SSL libraries: sudo apt-get install libssl-dev
- cd ./JohnTheRipper/src/
- ./configure
- Note: The following does not have OpenCL support. I’ll try to circle back to this later to figure out how to add it.
- make -s clean && make -sj4
- cd ../run/
- ./john –test
- Obtain the latest copy of the source-code from https://hashes.org/mdxfind.php
- MDXFind is only provided as a pre-compiled binary so you don’t need to build it. Grab the 64bit Linux variant.
- Download and copy the file to the directory you want to install MDXFind into
- Make MDXFind executable
- chmod +x mdxfind
- Install required dependencies
- sudo apt install libjudydebian1 libmhash2 librhash0
- Test MDXFind
- ./mdxfind
Other Quality of Life Installations:
Install Text Editor:
- I like Kate. To install it: sudo apt-get install kate
- You might also want to install Atom which has more features. I’m hesitant to recommend it with Microsoft buying GitHub, but it is free and has a ton of features: https://atom.io/
- Find a picture you want to see when typing your login picture.
- sudo cp Pictures/FILENAME_OF_PCITURE_YOU_WANT_TO_USE /usr/share/backgrounds/login.jpg
- vim /etc/alternatives/gdm3.css
- Find: #lockDialogGroup background: #2c001e url(resource:///org/gnome/shell/theme/noise-texture.png) background-repeat: repeat; }
- Replace it with
#lockDialogGroup {  background: #2c001e url(file:///usr/share/backgrounds/login.jpg);
  background-repeat: no-repeat;
  background-size: cover;
  background-position: center; }
*** This is a Security Bloggers Network syndicated blog from Reusable Security authored by Charles Weir. Read the original post at: https://reusablesec.blogspot.com/2018/09/configuring-password-cracking-computer.html
